Planting instructions
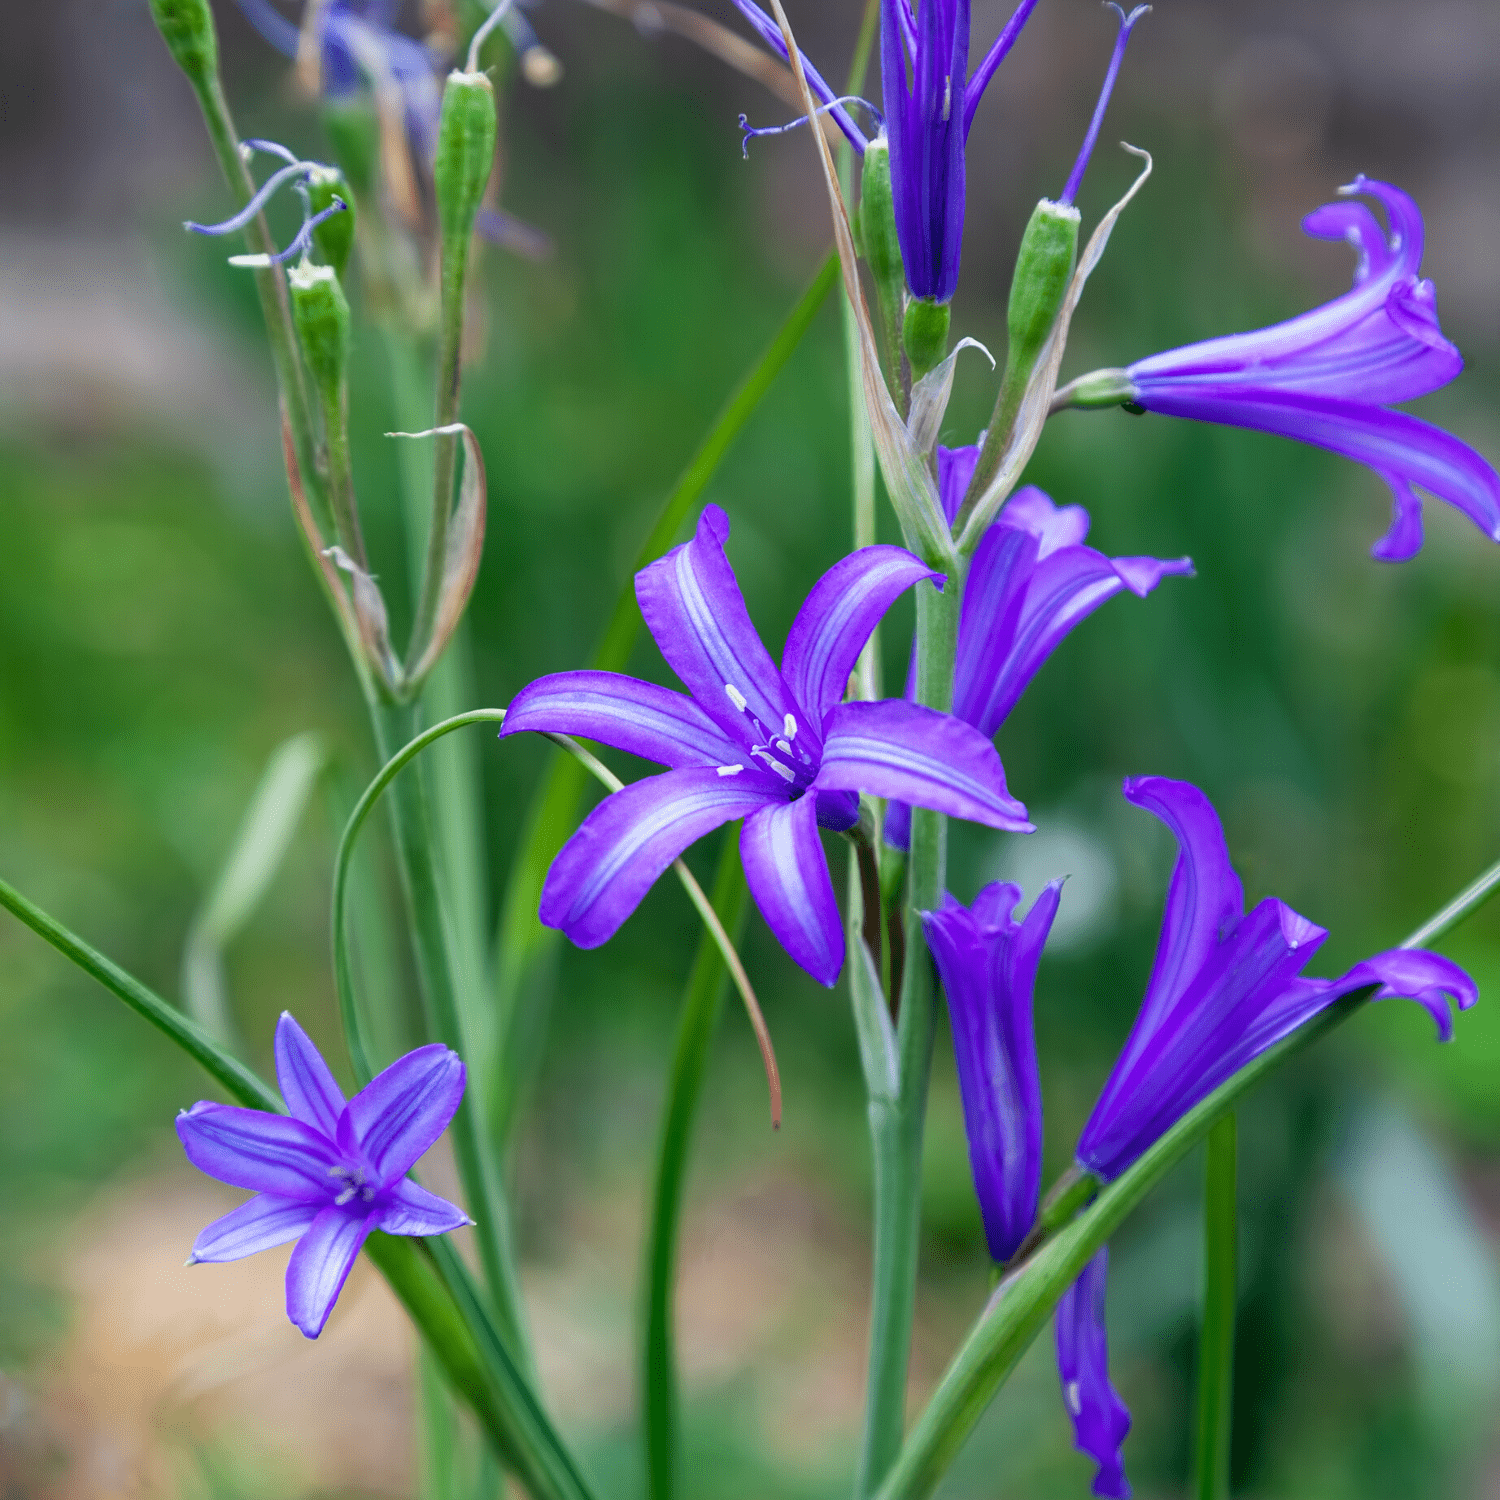
Brodiaea planting instructions
on Apr 05 2023
📅 When to plant Brodiaea bulbs:
The ideal time to plant your Brodiaea bulbs is in early spring (fall is also a great option, but then you should store them way too long which isn’t good for the bulbs). Planting them this spring, allows them to establish roots before the warmer weather arrives, providing a strong foundation for beautiful blooms during the summer months.
If you live in an area with a warmer climate, such as USDA hardiness zones 5-9, you’ll be able to plant your spring bulbs right away when you receive them.
If you live in an area with a colder climate, USDA hardiness zone 4 and below, then you should wait until the frost has passed.
📦 Storing your Brodiaea bulbs:
When your Brodiaea bulbs arrive, the first step is to check them carefully for any damage or signs of disease. If they appear healthy, the next step depends on the climate of your living area (see content above).
If you are unable to plant your bulbs immediately upon arrival, store them in a cool, dry location with good ventilation. Avoid exposing the bulbs to extreme temperatures, moisture, or direct sunlight. Check them regularly for any signs of mold, rot, or dehydration.
🌿 Preparing your garden for planting:
Start by choosing a location with well-draining soil, as these bulbs prefer not to sit in soggy conditions. Brodiaea thrives in full sun to partial shade, so select a spot that receives ample sunlight throughout the day. Prepare the soil by loosening it to a depth of 6-8 inches and mixing it in some organic matter, such as compost or well-rotted manure. This will improve soil fertility and drainage.
🌱 How to plant your Brodiaea bulbs:
Dig holes about 3-4 inches deep, spaced 4-6 inches apart.
Place each bulb with the pointy end facing upwards.
Cover the bulbs with soil and gently pat down.
Water the area thoroughly to settle the soil and initiate root growth.
💧 Watering & caring tips:
Water regularly during the growing season, providing about 1 inch of water per week. When the foliage starts to die back, gradually reduce watering.
A good thumb rule is to water the plant deeply when the top 2 inches of soil are dry (just feel this with your finger).
🌸 How to keep your Brodiaea bulbs blooming?
As the flowers begin to fade, remove the spent blooms to encourage more flowering.
Once the foliage has completely withered, stop watering to allow the bulbs to enter dormancy.
Apply a balanced, slow-release fertilizer in the spring as the new growth emerges.
Keep the planting area weed-free to reduce competition for nutrients and water.
on Apr 05 2023
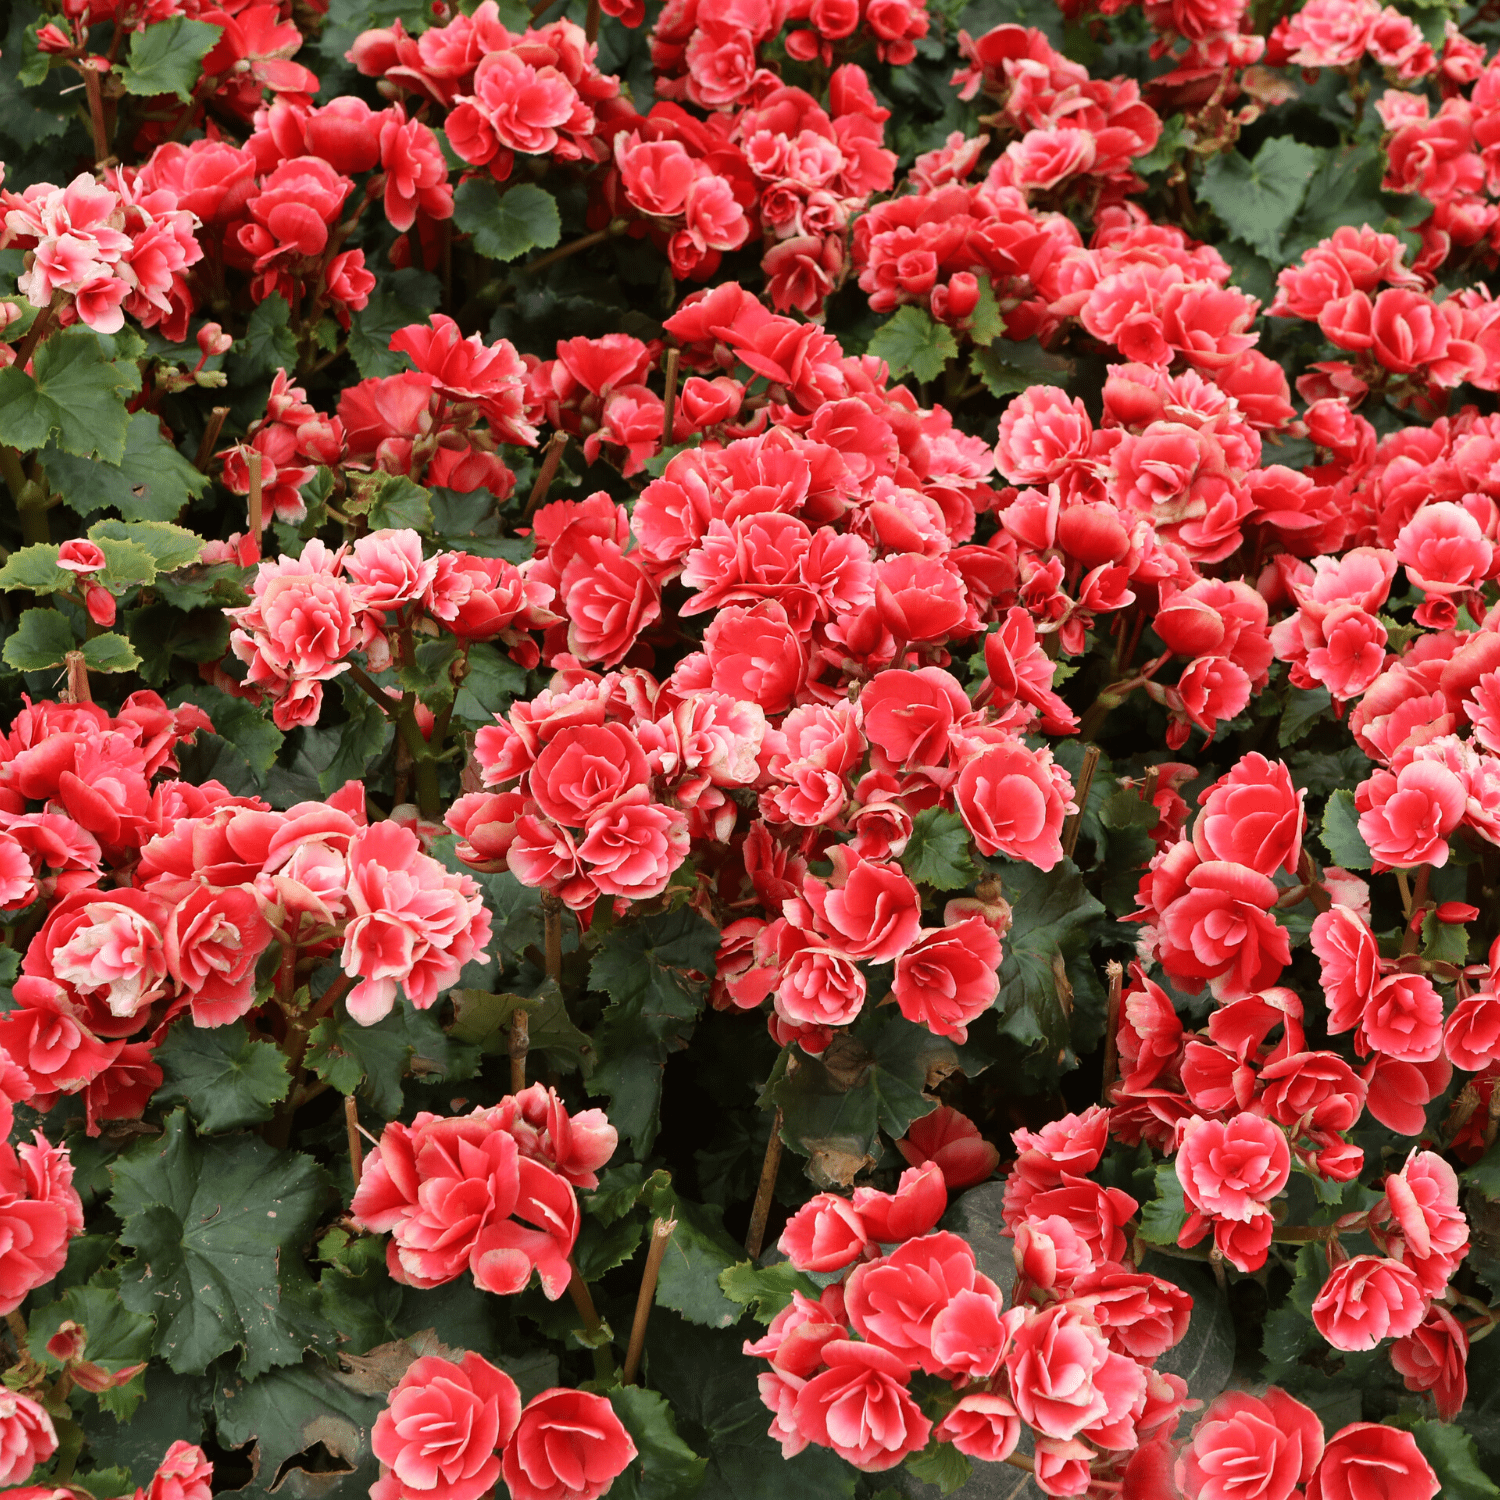
📅 When to plant your Begonia bulbs
The ideal time to plant Begonia bulbs is in the spring, once the threat of frost has passed and soil temperatures have warmed to at least 60°F (16°C). Planting in spring allows the bulbs to establish a strong root system before the hot summer months arrive.
If you live in a region with mild winters (USDA hardiness zone 9 and up), you may also plant the bulbs in the fall for blooms the following spring. For indoor cultivation or greenhouse growing, you can plant the bulbs at any time, as long as you can maintain the appropriate growing conditions.
📦 Storing your Begonia bulbs until planting time:
While waiting for the perfect time to plant, store your Begonia bulbs in a cool, dry, and dark place, such as a basement or garage. Make sure they are not exposed to direct sunlight or freezing temperatures, and avoid damp or humid conditions to prevent rot or mold.
Make sure to check on your bulbs periodically and ensure they remain firm and healthy.
🌿 Preparing your garden for planting Begonia bulbs:
Before planting your Begonia bulbs, choose a well-draining location in your garden that receives partial shade or dappled sunlight, as direct sunlight may scorch the leaves. Prepare the soil by loosening it and mixing in some organic matter, such as compost or well-rotted manure, to provide essential nutrients for the plants.
🌱 How to plant your Begonia bulbs:
To prepare your garden for planting, follow these simple steps:
Dig a hole about 2-3 inches deep and wide enough to accommodate the tuber.
Plant the bulbs with the concave side facing up, and the smooth side down.
Cover the bulbs with 1 inch soil.
Space each tuber about 10 inches apart to give them enough room to grow.
If your Begonia bulbs feel dry or look dormant, you could soak them for 1-2 hours in lukewarm water.
💧 Watering & care:
Begonias prefer soil that is consistently moist but not waterlogged. Water them regularly, especially during hot or dry periods, ensuring that the soil never dries out completely. To maintain their health and appearance, remove any dead or yellowing leaves and faded blooms.
🌸 How to keep your Begonias blooming?
Apply a slow-release, balanced fertilizer in the spring to encourage strong growth.
Remove spent flowers after they've bloomed to promote more flowering and prevent the plant from using energy on seed production.
As the plants grow, provide support if necessary.
After blooming time, dig up the bulbs and store them in a cool, dry place until it's time to plant them again in the spring. This is especially important for regions with temperatures that dip below freezing.
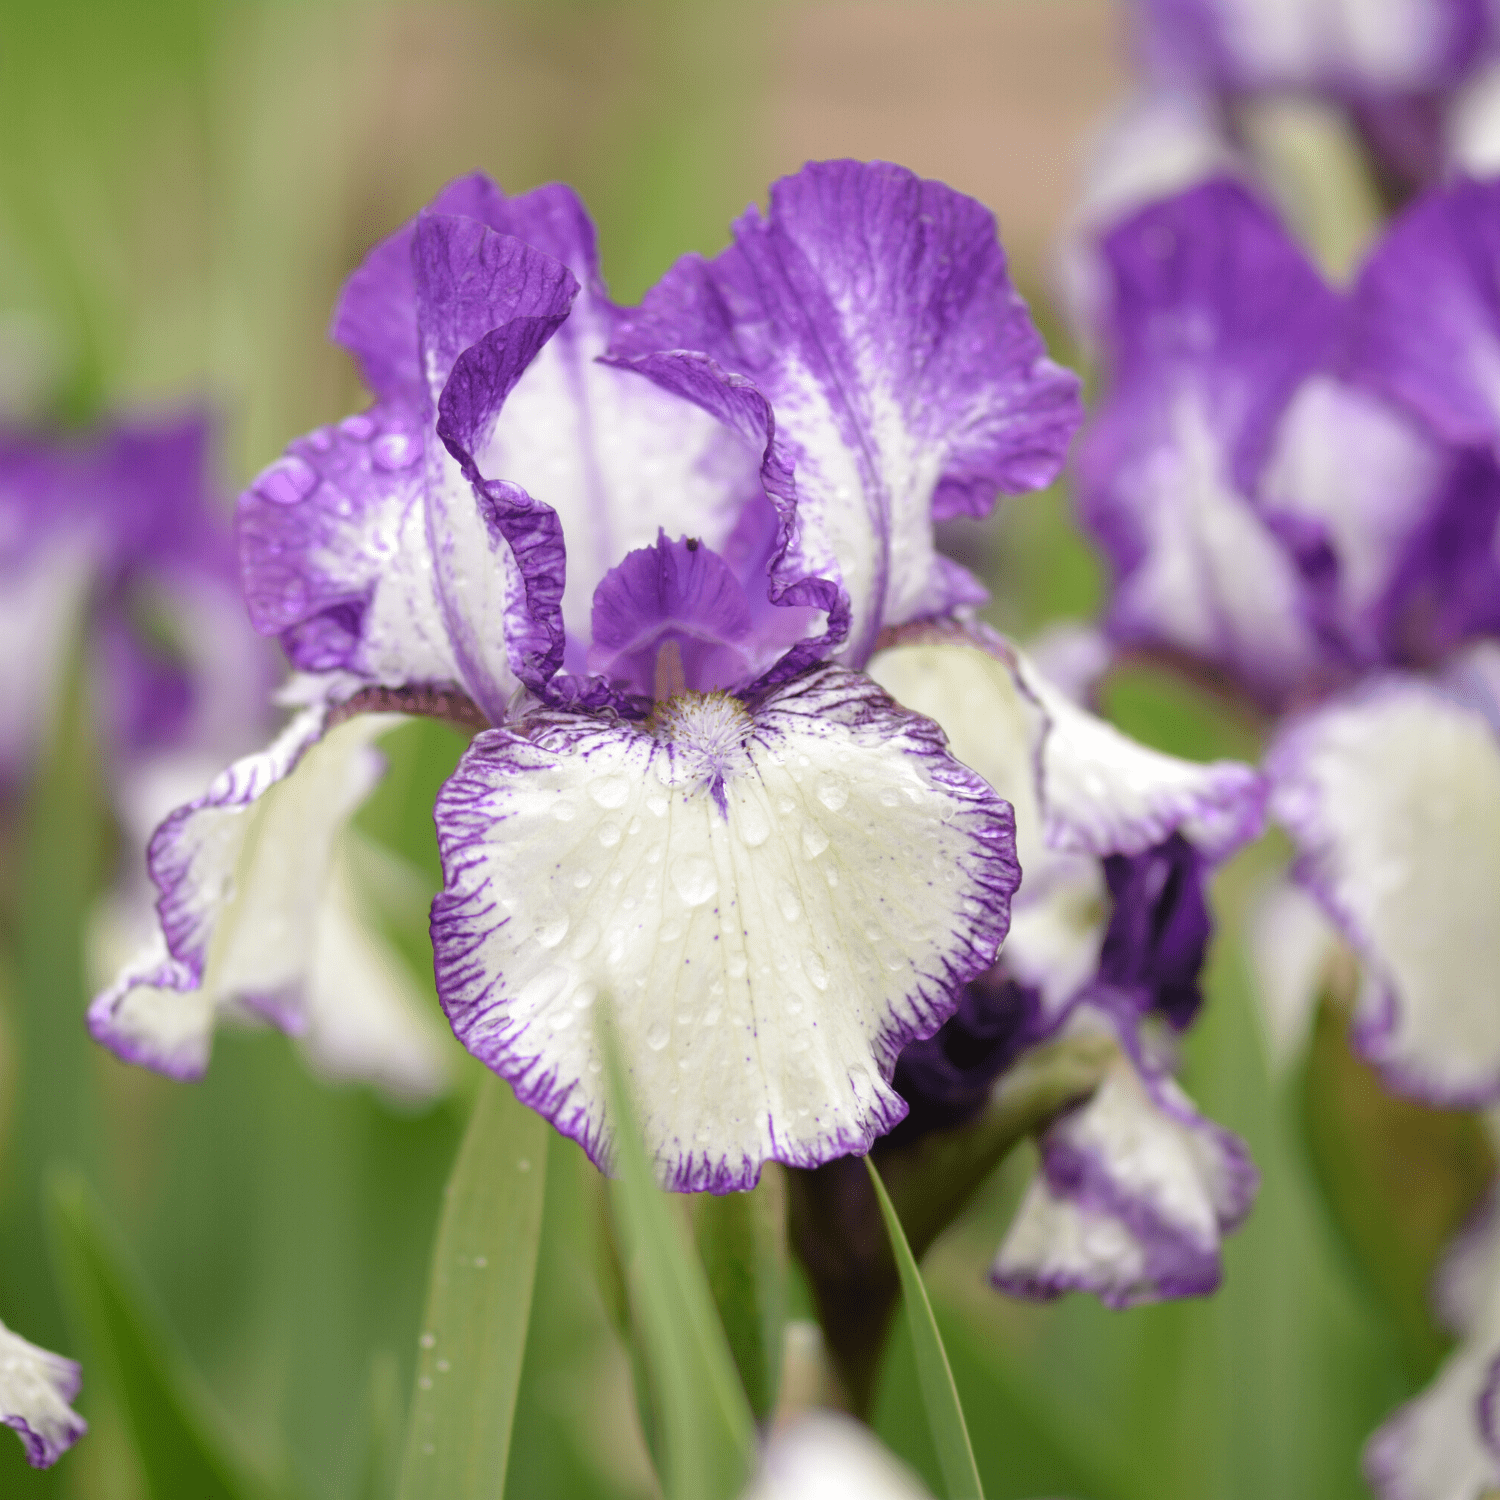
Bearded Iris planting instructions
on Apr 05 2023
📅 When to plant your Bearded Iris bulbs:
The best time to plant Bearded Iris bulbs is in July or August. Planting during this period allows the bulbs to establish a strong root system before the winter dormancy sets in. This timing also ensures that the bulbs are well-prepared for the upcoming growing season, maximizing their chances of producing stunning blooms in the spring.
📦 Storing your Bearded Iris bulbs until planting:
What to do with your Bearded Iris bulbs in the meantime when it is not time to plant them yet?
Start them off in a one-gallon pot, and cover them with dry compost. Or you can wrap them in a newspaper.
Keep the bulbs in a cool, dry, and dark place, such as a garage or basement.
Make sure the temperature is between 35-45°F (2-7°C) to prevent premature sprouting or rot.
Avoid exposing them to direct sunlight, extreme temperatures, or moisture, as this can cause premature sprouting or rotting
🌿 Preparing your garden for planting:
Choose a sunny spot with well-draining soil.
Bearded Irises prefer at least 6 hours of direct sunlight per day.
Amend the soil with compost or well-rotted manure to improve drainage and fertility.
Loosen the soil to a depth of 10-12 inches (25-30 cm), removing any weeds or debris.
🌱 How to plant your Bearded Iris bulbs:
Dig a shallow hole about 4 inches (10 cm) deep and 6 inches (15 cm) wide.
Create a small mound in the center of the hole and place the bulb on top, spreading its roots over the mound.
Cover the bulb with soil, leaving the top third of the bulb exposed.
Space the bulbs 12-18 inches (30-45 cm) apart to allow for ample growth.
💧 Watering & care:
Water your Bearded Iris bulbs thoroughly after planting and during their initial growth period.
Once established, Bearded Irises are drought-tolerant and require only occasional watering, especially during dry spells. A good thumb rule is to water the plant deeply when the top 2 inches of soil are dry (just feel this with your finger).
🌸 How to keep your Bearded Irises blooming?
Fertilize with a balanced, low-nitrogen fertilizer in early spring and again after blooming.
Deadhead spent blooms and cut back foliage to about 6 inches (15 cm) above ground level in the fall.
Keep the area around the plants weed-free and avoid heavy mulching, as this can cause rot.
on Apr 05 2023
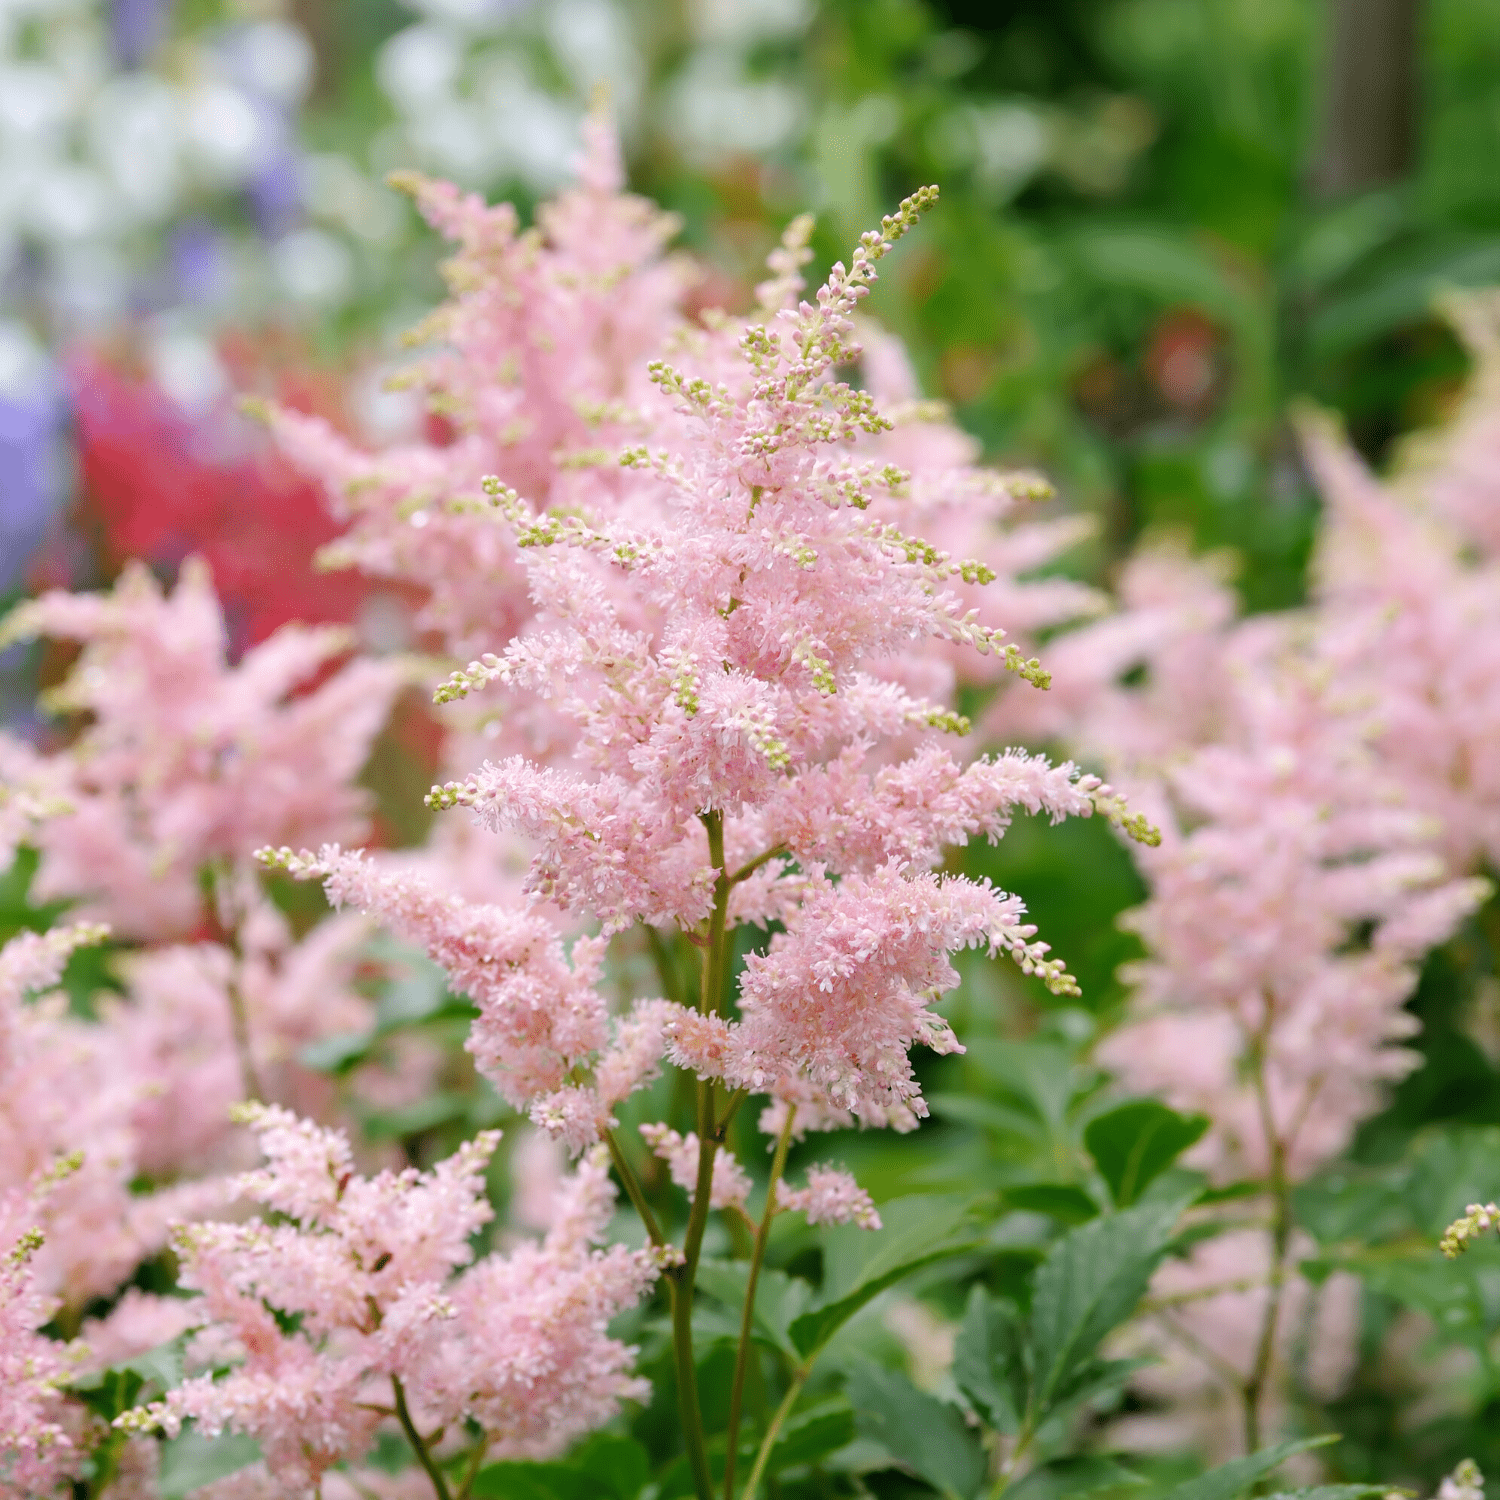
📅 When to plant your Astilbe bulbs:
The optimal time to plant Astilbe bulbs is during the fall or early spring. Planting in the fall allows the bulbs to establish roots before the winter dormancy period, ensuring healthy growth in the subsequent growing season.
In colder climates, where the ground may freeze during the winter, consider planting in early spring after the last frost. Spring planting will give the bulbs time to develop and produce beautiful plumes of feathery flowers in the summer months.
As soon as you receive your Astilbe bulbs, and the ground is workable, you may plant them.
📦 Storing your Astilbe bulbs until planting:
When your Anemone bulbs arrive, the first step is to check them carefully for any damage or signs of disease.
If you aren't ready to plant your bulbs immediately upon arrival, store them in a cool, dry, and dark place. This will prevent them from drying out and keep them healthy until you're ready to plant. Place it in a paper bag or wrap it in newspaper.
🌿 Preparing your garden for planting:
Astilbe bulbs thrive in well-draining, fertile soil with a slightly acidic pH (6.0-6.5). Choose a location that receives partial shade to full shade, as Astilbe prefers a cooler environment. Before planting, loosen the soil to a depth of 12-15 inches (30-38 cm) and mix in some organic matter or compost to enrich the soil and improve drainage.
🌱 How to plant your Astilbe bulbs:
Dig a hole about 3 inches (7.5 cm) deep and place the bulb with the pointed side facing up. Space the bulbs about 12-24 inches (30-60 cm) apart, depending on the size of your Astilbe variety.
Fill the hole with soil, gently firming it down to remove air pockets.
Water the bulbs thoroughly after planting to encourage root growth.
💧 Watering & care:
Astilbe plants prefer consistently moist soil, so it is important to water them regularly, especially during dry periods. Not sure when and how much to water them? A good thumb rule is to water the plant deeply when the top 2 inches of soil are dry (just feel this with your finger).
🌸 How to keep your Astilbes blooming?
Apply a layer of mulch around the plants to help retain moisture and suppress weeds.
Remove any faded flower spikes to encourage more blooms and maintain a tidy appearance.
You can also apply a slow-release, balanced fertilizer in the spring to promote healthy growth.
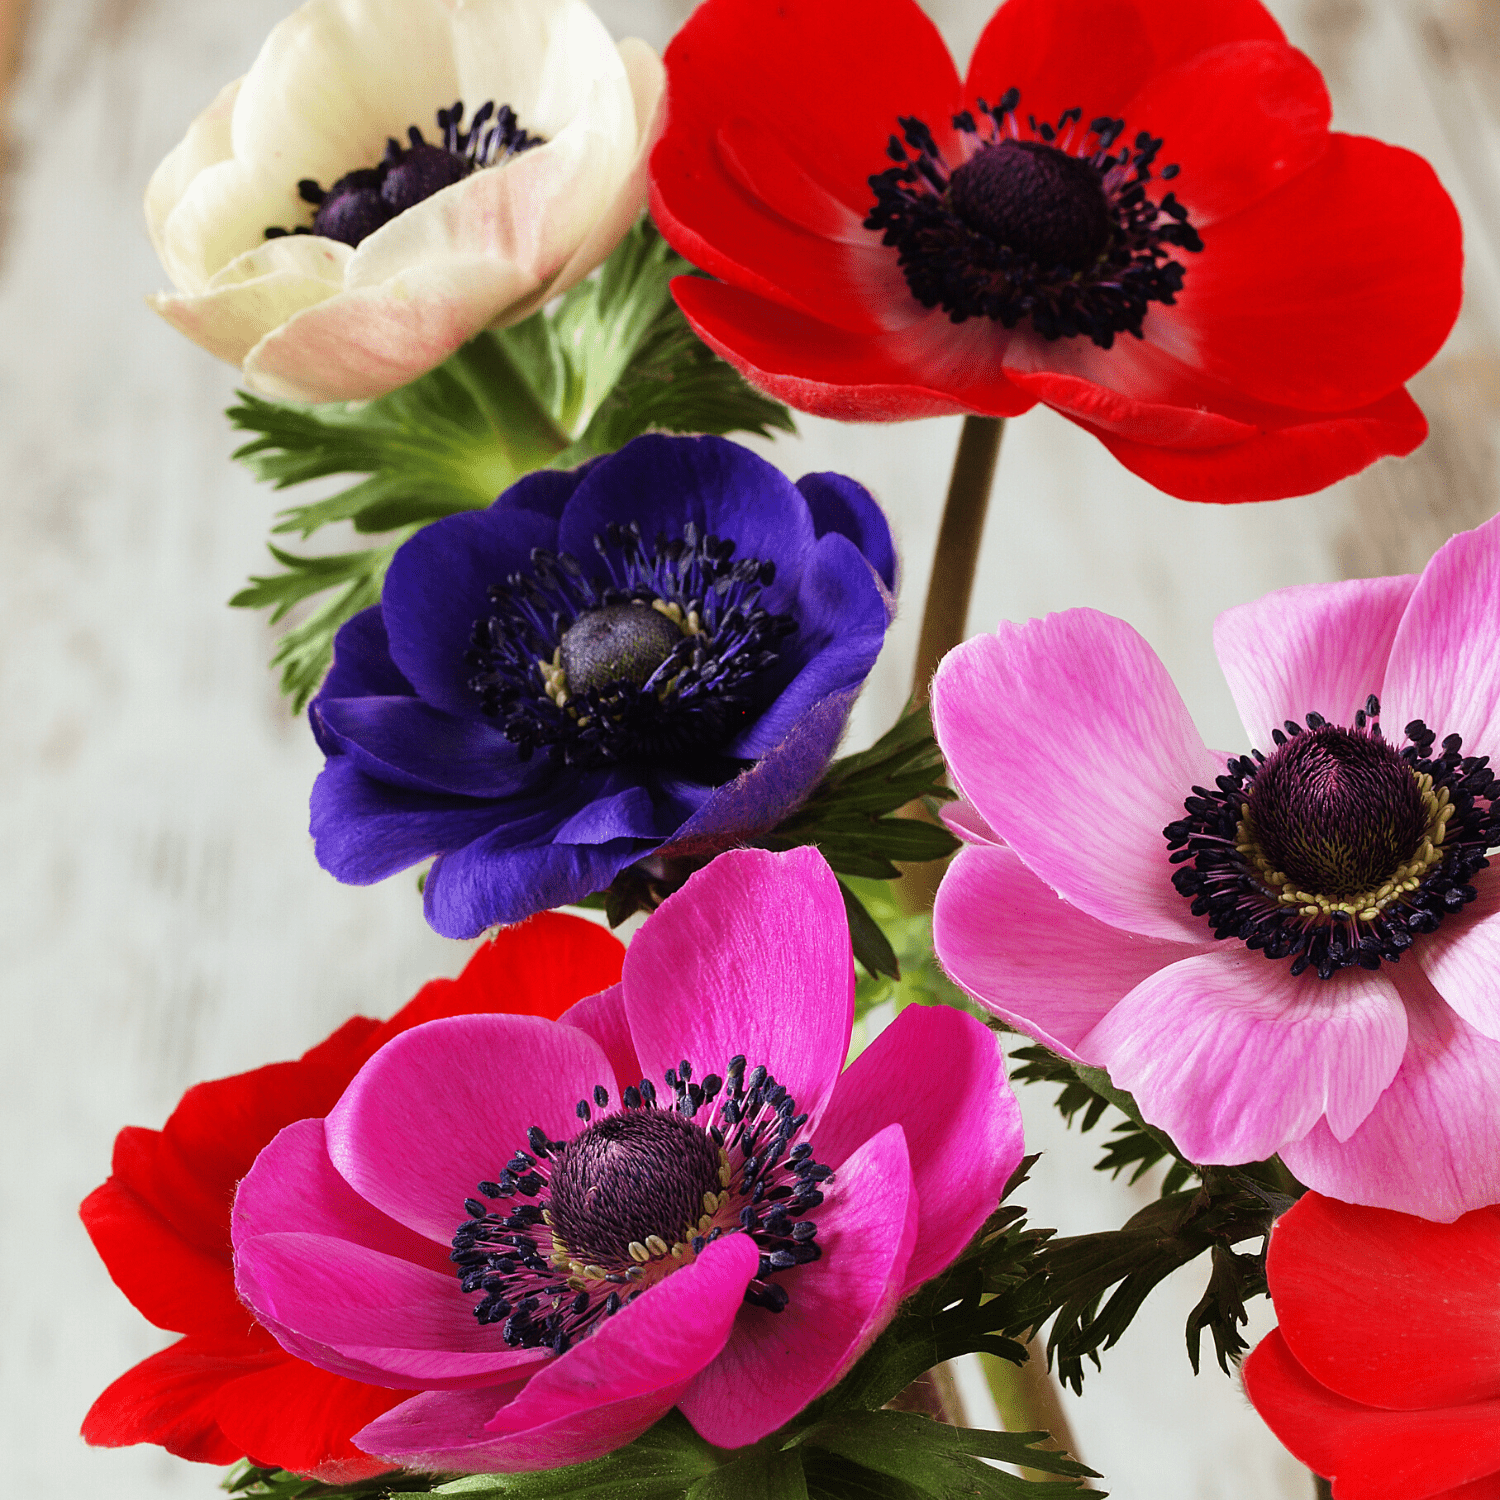
Anemones planting instructions
on Apr 05 2023
📅 When to plant Anemone bulbs:
The ideal time to plant your Anemone bulbs is in early spring (fall is also a great option, but then you should store them way too long which isn’t good for the bulbs). Planting them this spring, allows them to establish roots before the warmer weather arrives, providing a strong foundation for beautiful blooms during the summer months.
If you live in an area with a warmer climate, such as USDA hardiness zones 5-9, you’ll be able to plant your spring bulbs right away when you receive them.
If you live in an area with a colder climate, USDA hardiness zone 4 and below, then you should wait until the frost has passed.
📦 Storing your Anemone bulbs:
When your Anemone bulbs arrive, the first step is to check them carefully for any damage or signs of disease. If they appear healthy, the next step depends on the climate of your living area (see content above).
If you are unable to plant your bulbs immediately upon arrival, store them in a cool, dry location with good ventilation. Avoid exposing the bulbs to extreme temperatures, moisture, or direct sunlight. Check them regularly for any signs of mold, rot, or dehydration.
🌿 Preparing your garden for planting Anemone bulbs:
Anemones thrive in well-draining soil and partial to full sun. Choose a spot that receives at least 4-6 hours of sunlight per day. Anemones do very well in the full sun, but it is okay if they also have a little shade during the day. Before planting, loosen the soil to a depth of 12-15 inches and mix in some compost or well-rotted manure to improve soil fertility. Plant them in sandy, well-drained soil.
🌱 How to plant your Anemone bulbs:
Soak for 1-2 hours in lukewarm water before planting.
Plant the bulbs at a depth of 1-2 inches, spaced approximately 2-3 inches apart.
Plant the bulbs with the pointy side facing up.
If you're planting in groups, make sure to leave enough space between the groups for proper air circulation.
💧 Watering & caring tips:
Anemones require moderate watering, especially during their growing season. Water them regularly, ensuring the soil remains moist but not soggy. Overwatering can lead to bulb rot. Once the plants have finished blooming, you can reduce watering frequency.
A good thumb rule is to water the plant deeply when the top 2 inches of soil are dry (just feel this with your finger).
🌸 How to keep your Anemones blooming?
As the flowers begin to fade, remove the spent blooms to encourage more flowering.
After the foliage has turned yellow and died back, you can cut it down to ground level.
If you live in an area with harsh winters, consider applying a layer of mulch to protect the bulbs during the cold months. If you live in an area with a colder climate, USDA hardiness zone 4 and below, you should dig them up every winter.
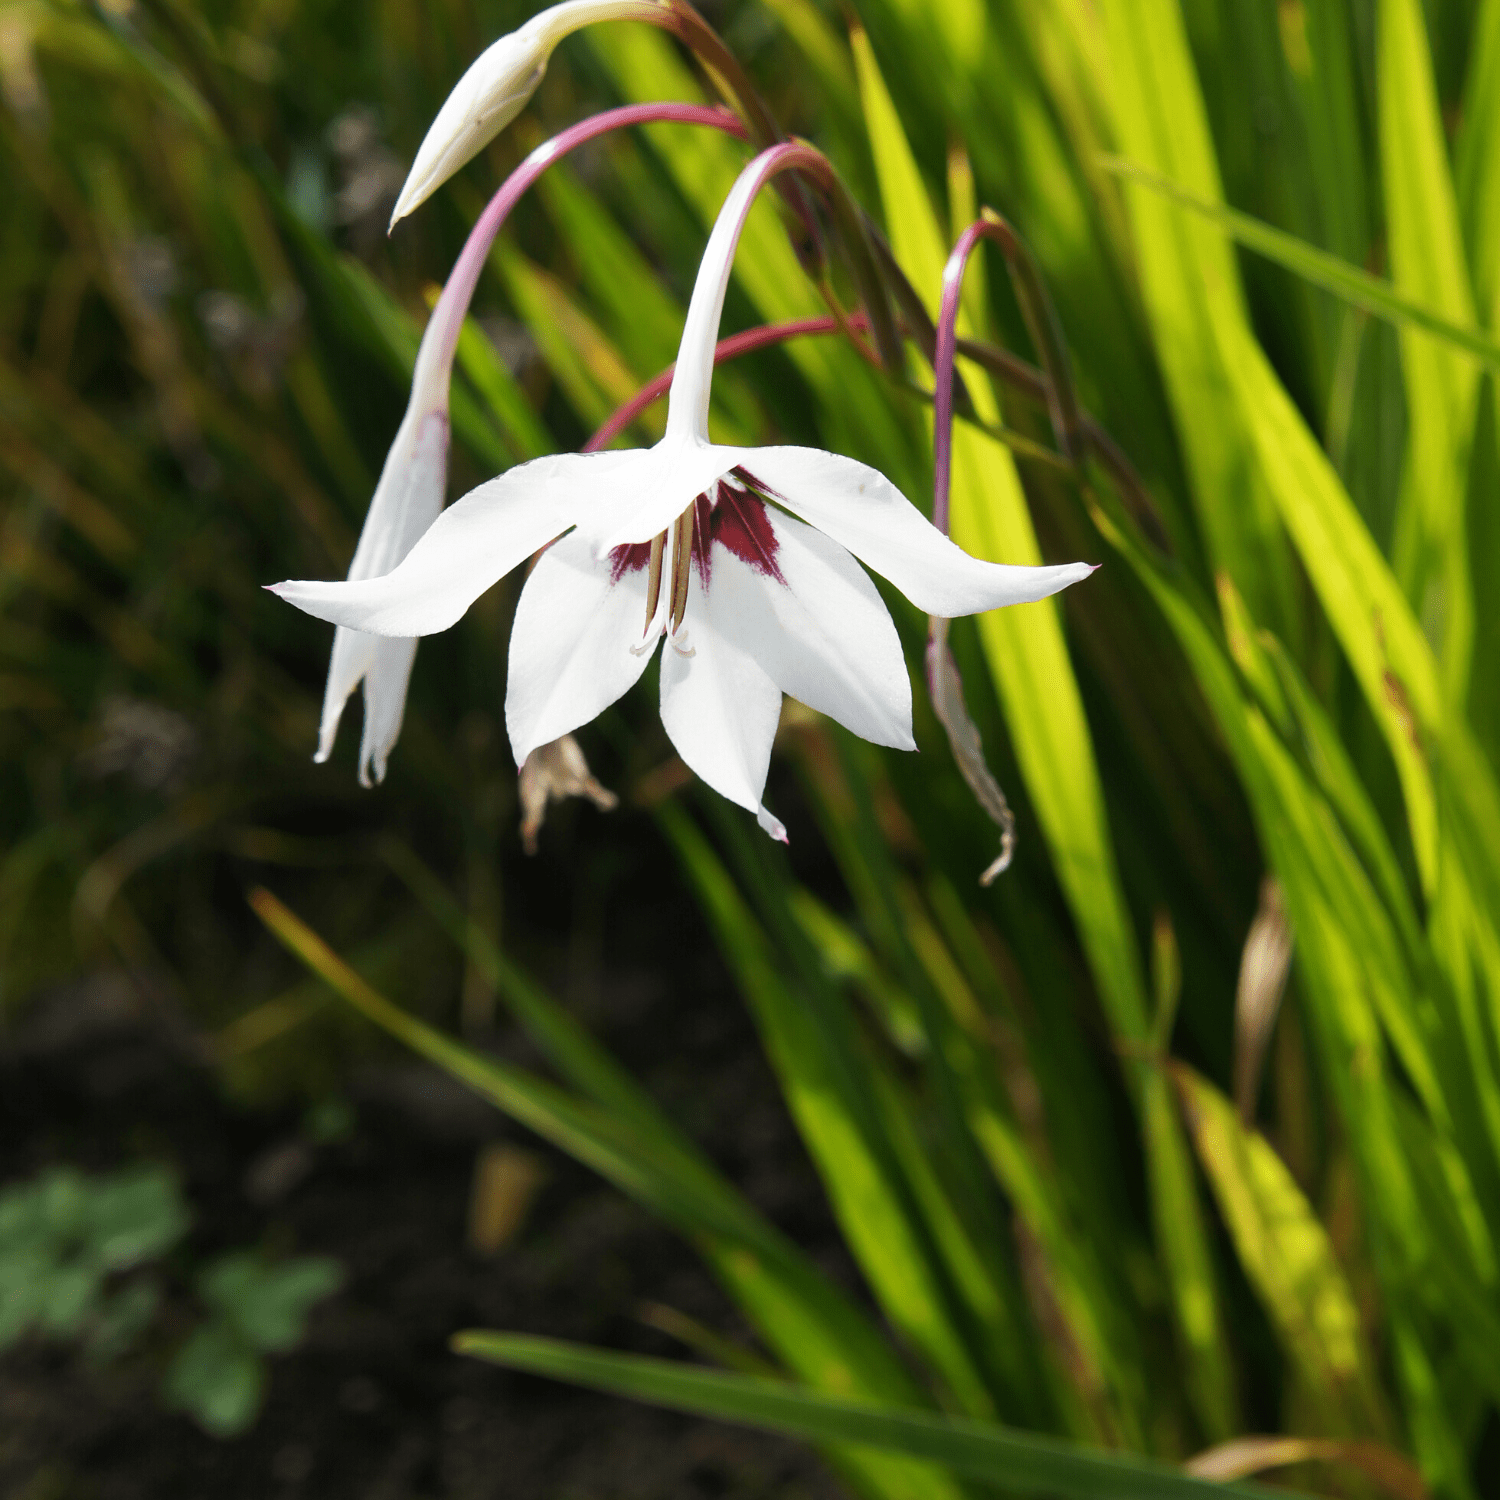
Acidanthera planting instructions
on Apr 05 2023
🗓 When to plant Acidanthera bulbs:
The ideal time to plant Acidanthera bulbs is in late spring when the soil temperature is consistently above 60°F (15°C). This will give your bulbs plenty of time to establish themselves before the summer blooms begin.
If you live in an area with a warmer climate, such as USDA hardiness zones 7-10, you’ll be able to plant your spring bulbs right away when you receive them.
If you live in an area with a colder climate, USDA hardiness zone 6 and below, then you should wait until the frost has passed.
🏺 Storing the Acidanthera bulbs:
In the meantime, you can store the bulbs in a cool, dark, and dry place, such as a garage or basement. Avoid exposing them to direct sunlight or damp conditions, as this could cause them to rot or sprout prematurely.
🌿 Preparing the garden:
Choose a well-drained location in your garden that receives at least 4 hours of sunlight each day and also some shade. Acidanthera bulbs thrive in well-draining soil, so make sure your chosen spot doesn't retain too much water. Loosen the soil to a depth of 12 inches (30 cm) and mix in some organic matter, like compost or aged manure, to improve soil fertility.
🌱 Planting the bulbs:
Here is how you should plant Acidanthera bulbs:
Plant the bulbs approximately 4 inches (10 cm) deep, with the pointed end facing up.
Space them about 4 inches (10 cm) apart to ensure good air circulation and to give them room to grow.
Cover the bulbs with soil and gently firm the surface.
💦 Watering & caring tips:
Water the bulbs immediately after planting to help settle the soil around them. Continue to water regularly throughout the growing season, ensuring the soil remains evenly moist but not waterlogged. Fertilize your Acidanthera bulbs with a balanced liquid fertilizer once a month during the growing season to promote strong growth and beautiful blooms.
A good thumb rule is to water the plant deeply when the top 2 inches of soil are dry (just feel this with your finger).
🌸 How to keep your Acidanthera blooming?
Monitor your plants for pests and diseases, and treat them accordingly.
Fertilize: apply a balanced, slow-release fertilizer during the growing season, following the package instructions to promote vigorous growth and flowering.
Stake: tall Acidanthera plants may require support to prevent them from toppling over, especially in windy conditions. Use garden stakes or a plant cage as needed.
After the first frost in fall, dig up the bulbs, clean them gently, and store them in a cool, dark, and dry place until the next planting season. If you live in an area with a warmer climate, such as USDA hardiness zones 7-10, you can leave them in the ground.
