Welcome to DutchFlowerBulbs
We're bringing Dutch beauty to American gardens, one bulb at a time! Our Fall Planted Bulbs are available for pre-orders. Starting 2nd week of October.

Blog posts
May gardening checklist: What to do in your garden this month
on Apr 30 2025
May is one of the most exciting months in the garden. The days are longer, the soil is warming up, and flowers and plants are bursting back to life. Whether you have a large garden or a small patio, there’s plenty to do to set your space up for a vibrant summer. In this blog, we’ll guide you through the most important gardening tasks for May, from planting to pruning—and even planning ahead.
Here are some practical and fun things to do in your garden this May:
May Gardening Checklist:
1. Plant Summer-flowering bulbs
Now’s the time to plant bulbs like Dahlias, Gladiolus, Calla Lilies, and Begonias. These thrive in warm soil and will reward you with beautiful blooms all summer long.
2. Feed your soil
Give your plants a boost by adding compost or a slow-release organic fertilizer. Healthy soil means stronger, longer-lasting blooms.
3. Weed regularly
As plants grow, so do weeds. Stay ahead of them by pulling them out early, so they don’t compete with your flowers for nutrients.
4. Deadhead Spring bulbs
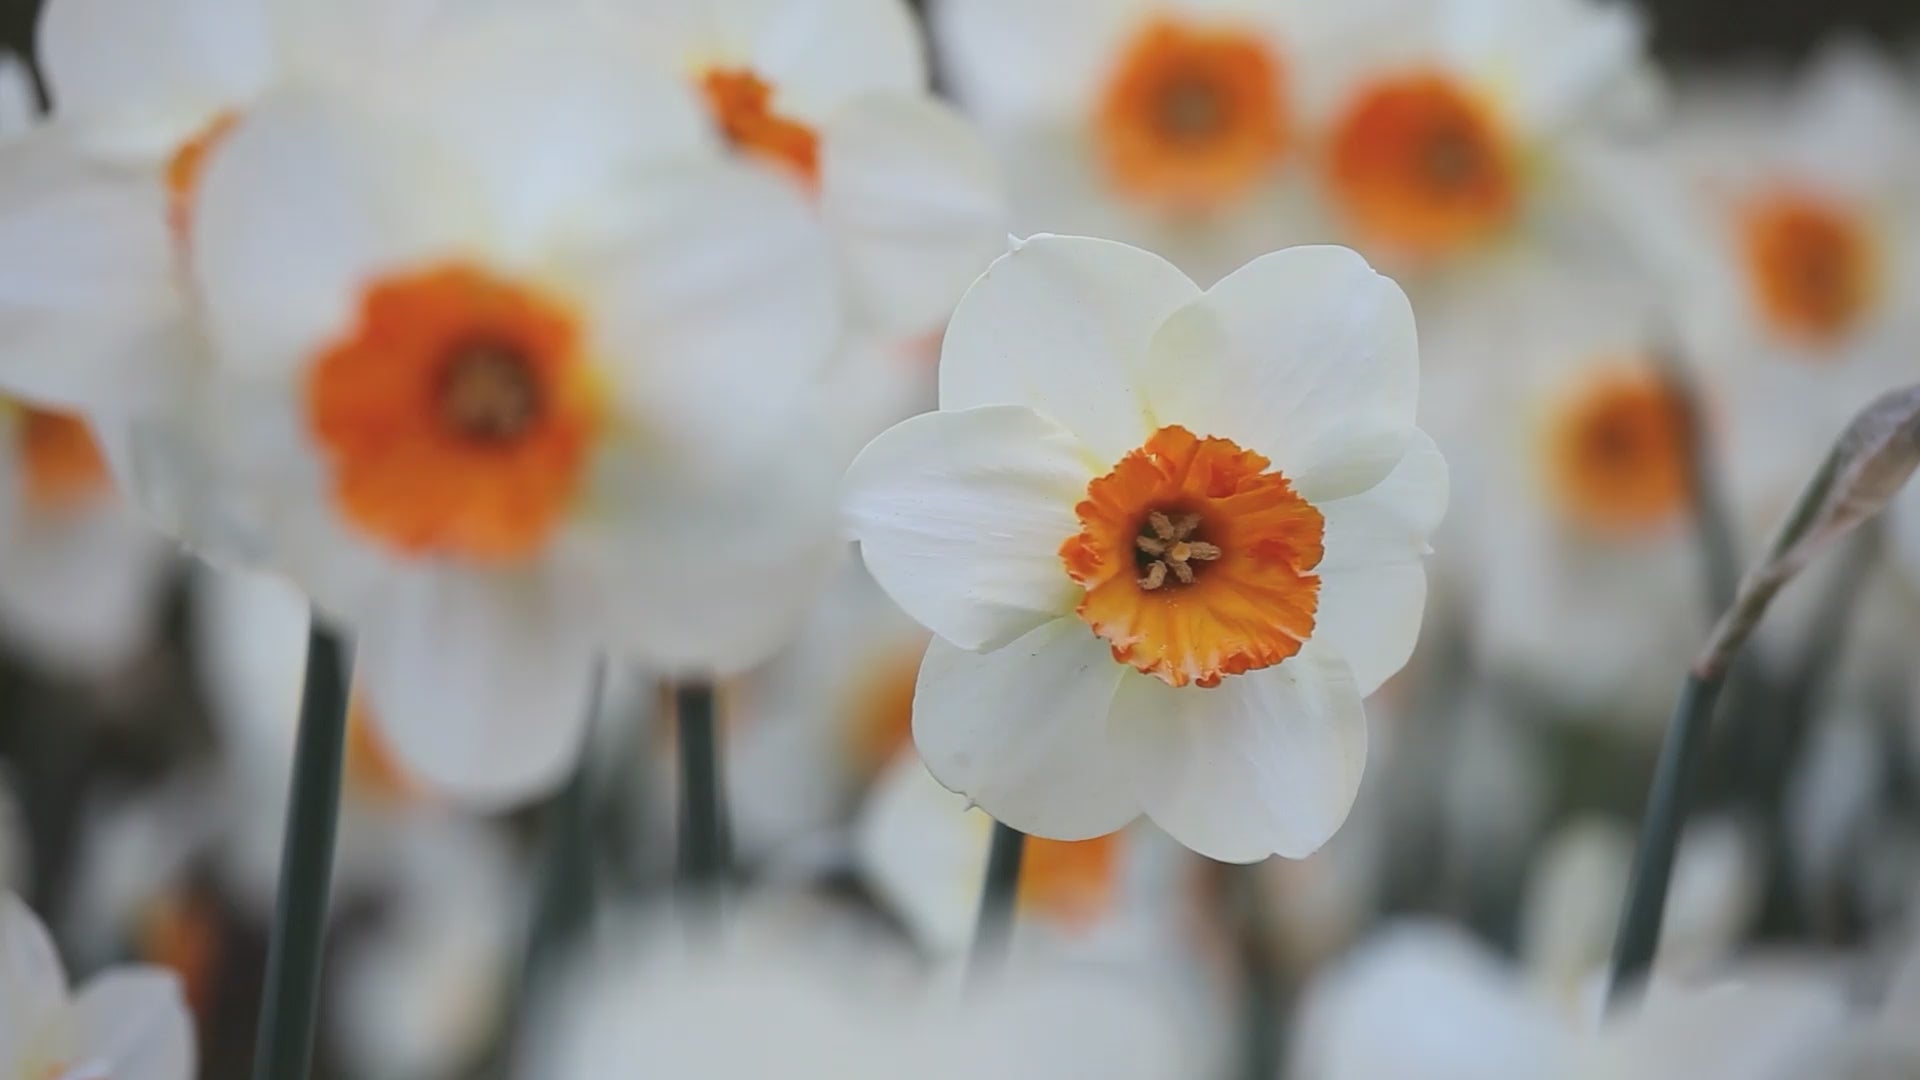
Once your early bloomers (like tulips or daffodils) fade, remove the dead flowers—but leave the foliage! This helps the bulb store energy for next year.
5. Water smartly
With the days heating up, it’s important to water deeply and less frequently. Early morning is the best time to give your garden a drink.
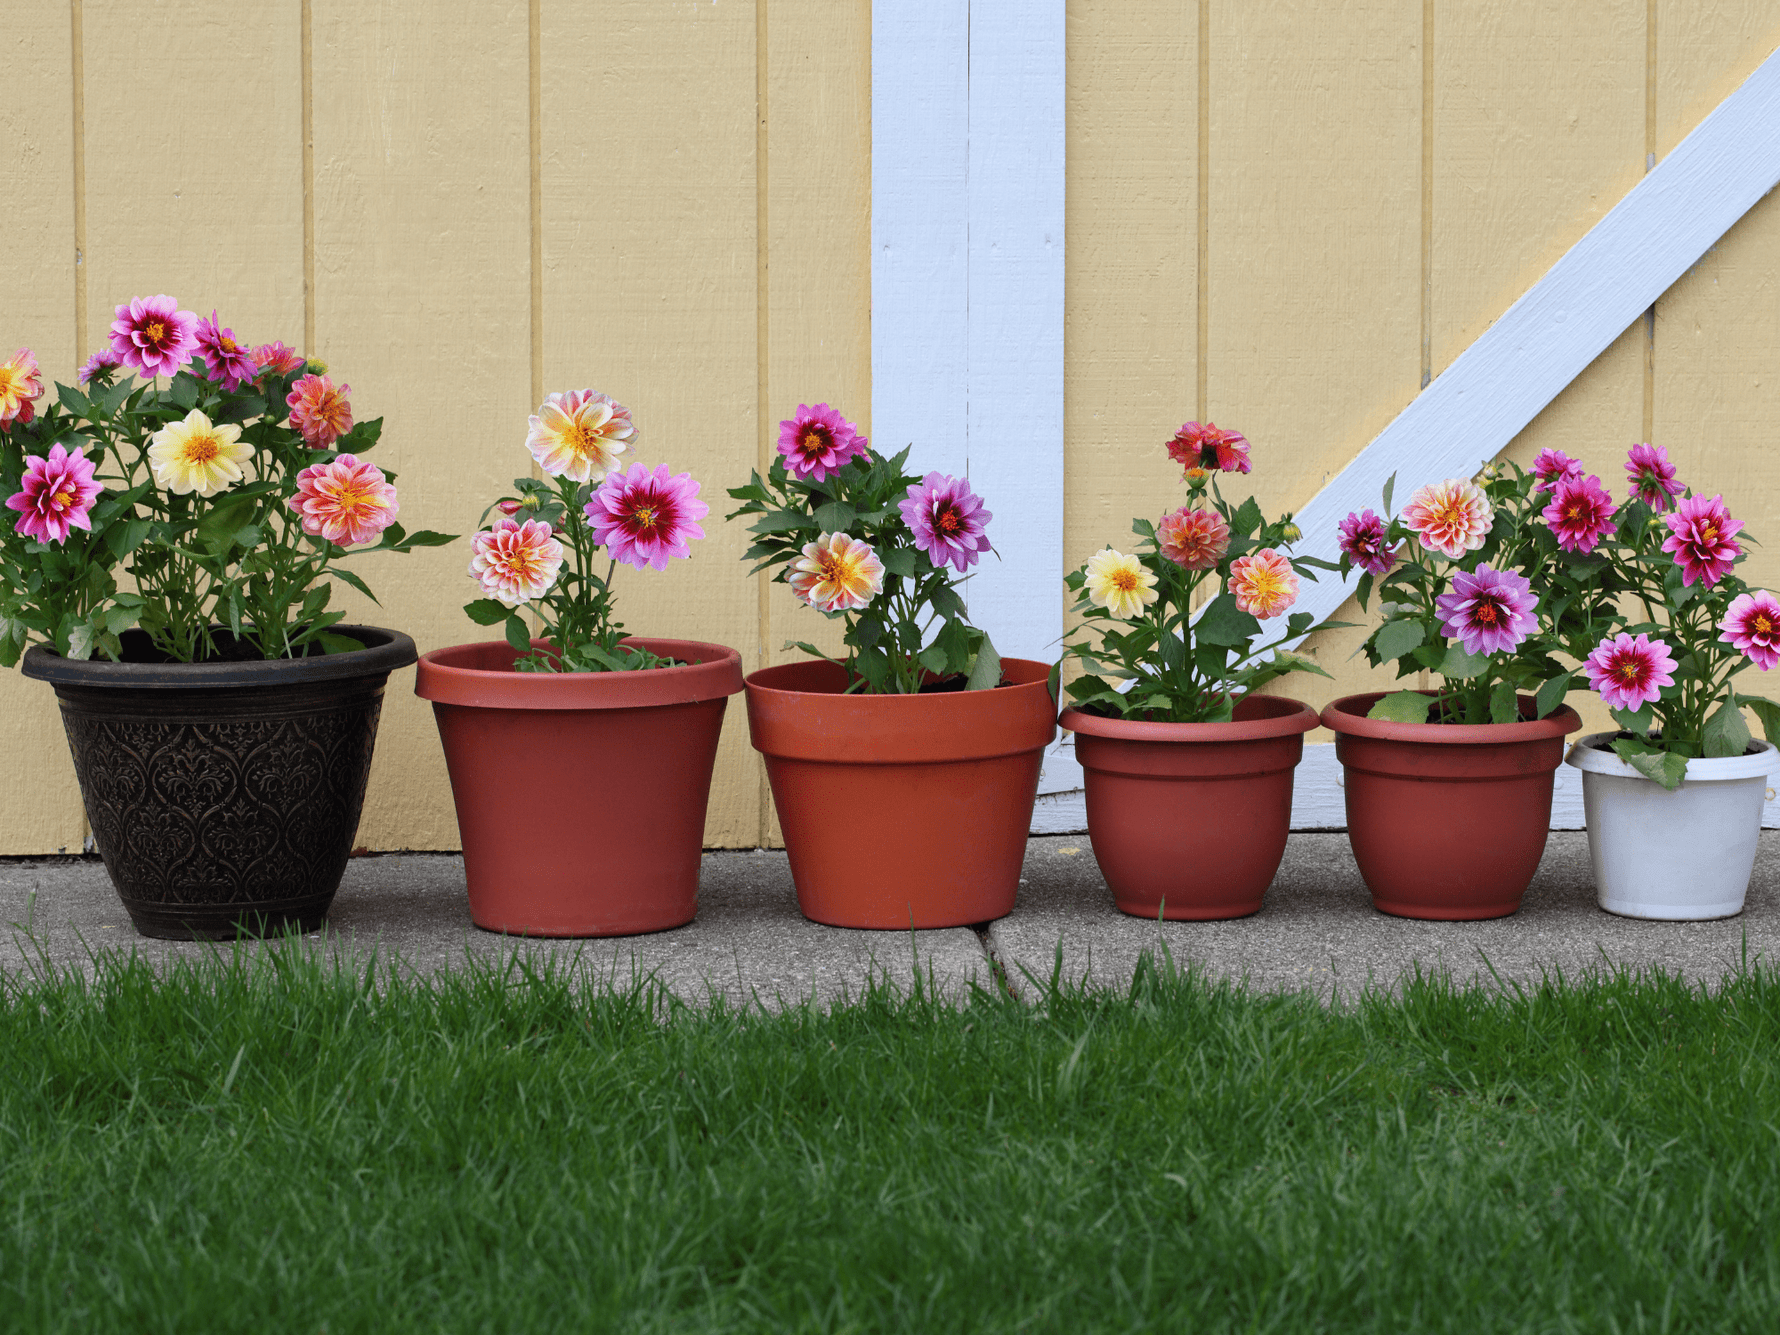
6. Start container gardening
Short on space? May is perfect for planting in containers! Try compact bulbs like Dwarf Dahlias, Begonias, or Lilies for beautiful balcony or patio displays.
7. Plan ahead: Fall bulbs coming soon
While you're enjoying the season, it's also a great time to start thinking ahead. Our Fall bulbs (like tulips and daffodils) will soon be available for pre-order—stay tuned!
May is a magical month for gardening—everything is growing, blooming, and full of potential. A little care now will reward you with a colorful, healthy garden all summer long.
How to prepare your Garden for Fall bulb planting
on Oct 17 2024
As summer fades and the crisp fall air sets in, it’s time to prepare your garden for the upcoming bulb planting season. Fall is the perfect time to plant bulbs like tulips, daffodils, and crocuses, which will sleep through the winter and burst into bloom when spring arrives. However, to ensure a beautiful display of flowers, your garden needs to be properly prepared before planting begins. Here’s a comprehensive step-by-step plan to getting your garden ready for Fall bulb planting.
Step-by-stap plan
Step 1: Clean up the garden
Start by cleaning up your garden. Remove any dead or dying plants, weeds, and debris from your garden beds. This will give your bulbs the best chance to establish themselves without competition. Clearing out old plant material also helps prevent the spread of pests and diseases.
Step 2: Test and amend the soil
Healthy soil is key to successful bulb growth. Test your soil to determine its pH level and nutrient content. Most bulbs prefer slightly acidic to neutral soil (pH 6-7). If your soil is too acidic, add lime to raise the pH. If it’s too alkaline, add sulfur to lower the pH. Incorporate compost or well-rotted manure to improve soil fertility and structure.
Step 3: Plan your planting
Decide where you want to plant your bulbs. Consider the height, color, and bloom time of each type of bulb to create a harmonious display. Bulbs look best when planted in groups or drifts rather than in single rows. Plan to plant taller bulbs like alliums and irises at the back of your garden beds and shorter bulbs like crocuses and snowdrops at the front.
Step 4: Prepare the planting area
Loosen the soil in your planting area to a depth of about 12 inches. This will make it easier for the bulbs to root and grow. Remove any rocks or debris from the soil. If your soil is heavy clay or tends to stay wet, consider adding sand or grit to improve drainage.
Step 5: Mark your planting spots
Use garden stakes or markers to outline where you will plant each type of bulb. This will help you remember where each bulb goes and ensure proper spacing. It’s also a good idea to draw a planting plan on paper, especially if you’re planting a large number of bulbs or creating intricate designs.
Step 6: Dig holes or trenches
Dig individual holes or a trench for your bulbs, following the depth guidelines for each type of bulb:
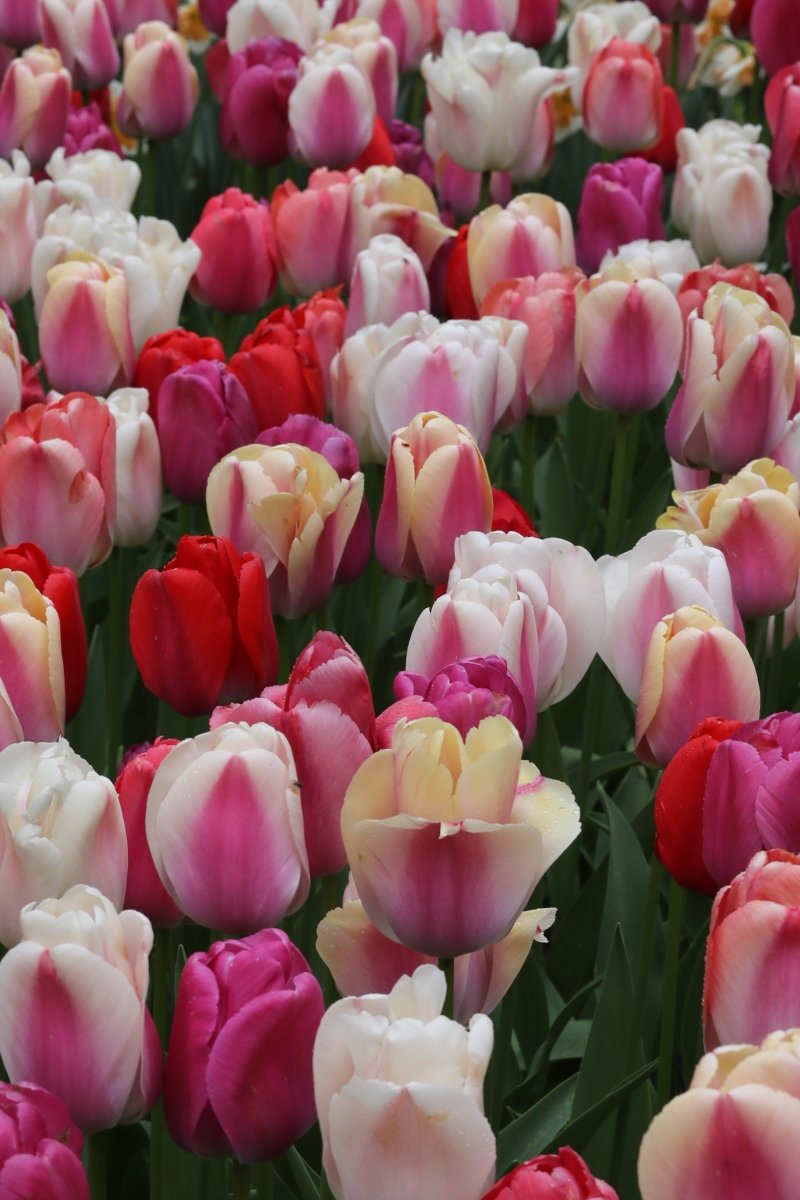
Tulips and Daffodils: 6-8 inches deep
Crocuses: 3-4 inches deep
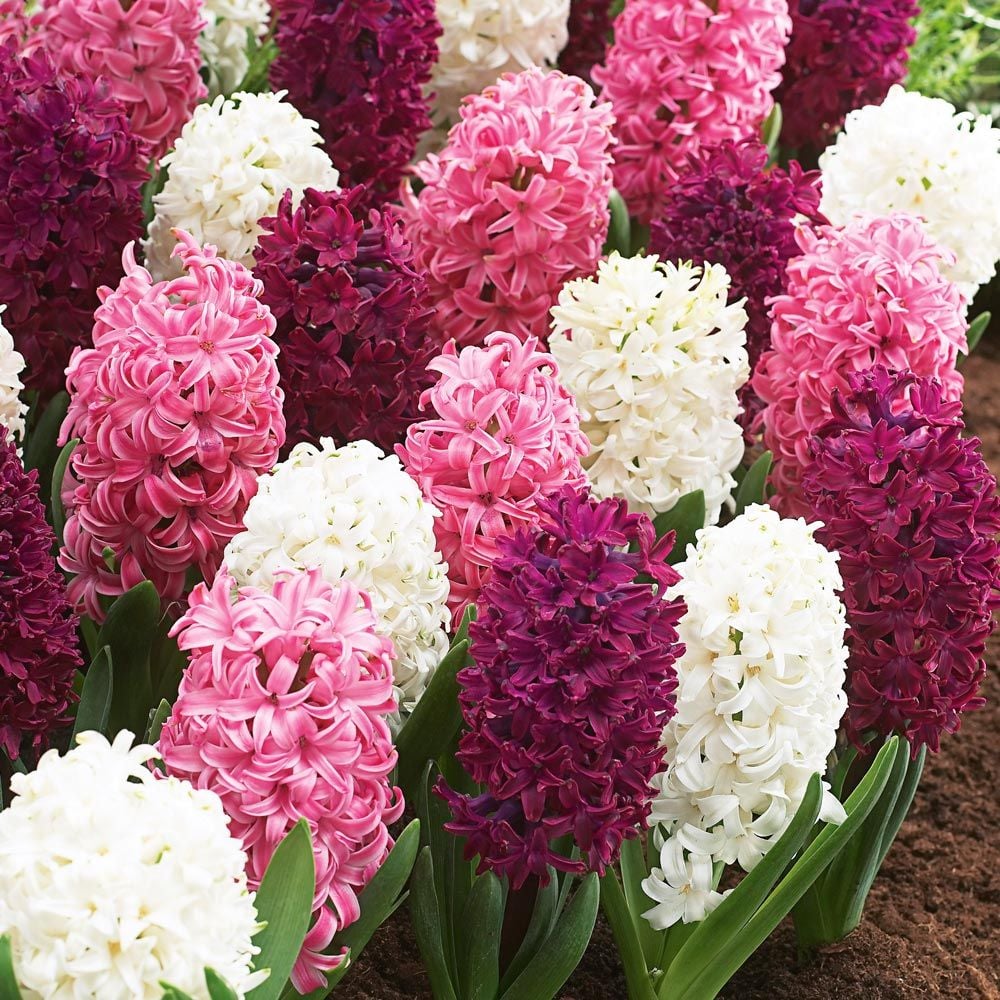
Hyacinths: 4-6 inches deep
Irises: 4-5 inches deep
Space the bulbs according to their size. Larger bulbs need more space, while smaller bulbs can be planted closer together.
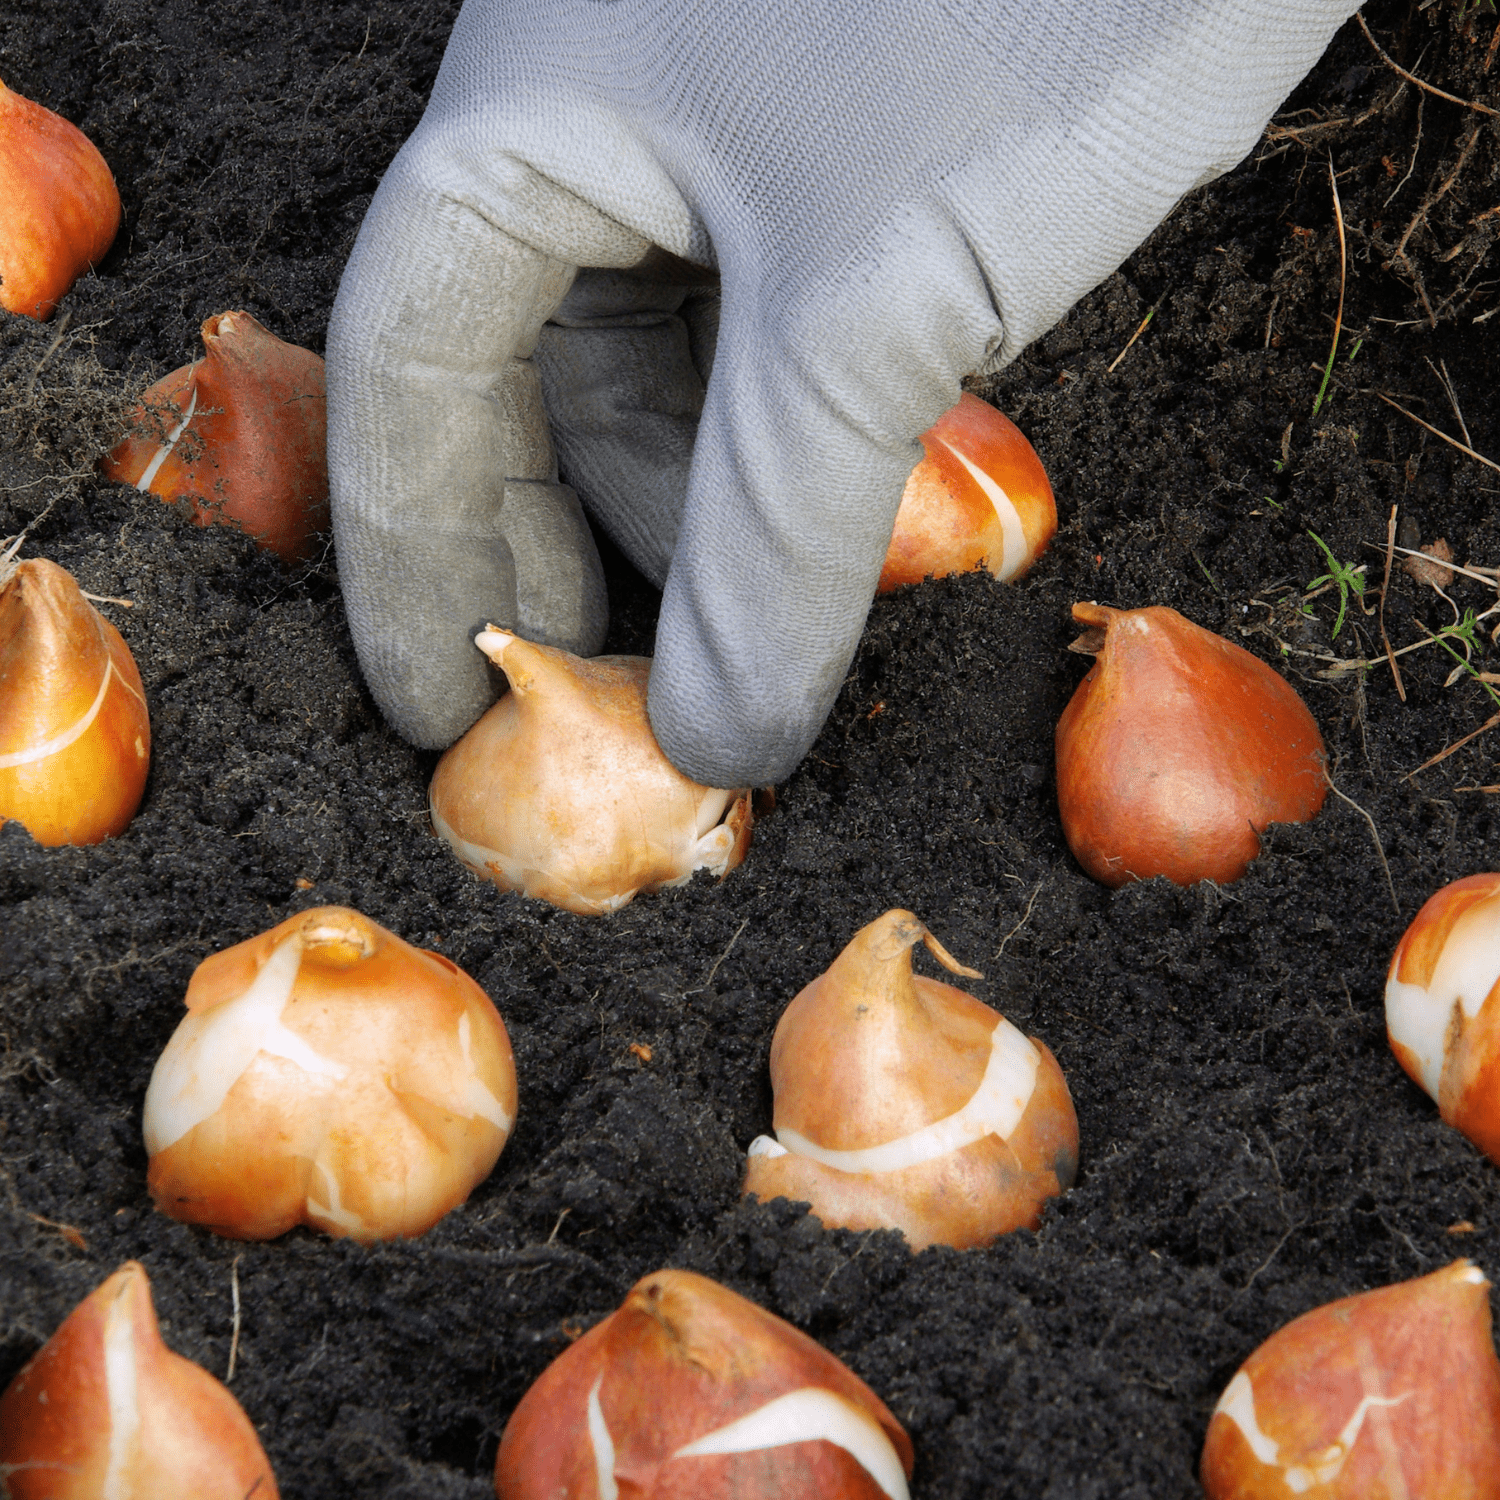
Step 7: Plant the bulbs
Place the bulbs in the holes with the pointed end facing up. Cover them with soil and gently pat it down to remove air pockets. Planting bulbs with the pointed end up ensures that the shoots can emerge easily. If you’re planting bulbs that don’t have a clear top or bottom, plant them on their sides. Nature will sort it out, and the shoots will find their way to the surface.
Step 8: Water and mulch
Water the bulbs thoroughly after planting to help them settle into the soil. Adding a layer of mulch can help protect your bulbs from extreme temperatures and keep the soil moist. It also helps prevent weeds from growing. Mulching is beneficial because it insulates the soil, helping to maintain a stable temperature and moisture level. Organic mulches, such as shredded leaves, straw, or compost, also add nutrients to the soil as they decompose.
Tips for a successful garden
Plant at the right time: plant bulbs in the Fall before the first hard frost. This gives them time to establish roots before winter.
Consider wildlife: some bulbs, like tulips, are favorites of deer and squirrels. If you have wildlife issues, consider planting bulbs that are less attractive to animals, such as daffodils and alliums.
Layer bulbs for continuous bloom: to enjoy a long-lasting display of flowers, layer bulbs with different bloom times in the same area.
When and how to plant Fall bulbs for Spring blooms
on Oct 17 2024
Planting Fall bulbs is a simple yet rewarding task that promises a vibrant and colorful garden in the spring. Whether you’re a seasoned gardener or just starting out, knowing when and how to plant Fall bulbs is essential for a successful bloom. In this blog we’ll walk you through the best time to plant your bulbs and provide step-by-step instructions on how to do it. Get ready to transform your garden with a burst of Spring color!
Why plant Spring-flowering bulbs in Fall?
Fall bulbs, such as tulips, daffodils, crocuses, and hyacinths, are planted in Autumn because they need a cold period to develop roots and prepare for blooming in the spring. Planting them in the Fall allows them to undergo this necessary dormancy, ensuring they burst into life when the weather warms up.
When to plant Fall bulbs
Timing is crucial when it comes to planting Fall bulbs. Here’s what you need to know.
Temperature matters: Fall bulbs should be planted when the soil temperature is consistently below 60°F (15°C) but before the ground freezes. This typically means planting them 6-8 weeks before the first hard frost in your area.
Regional timing:
Northern regions: in colder climates, such as the northern United States, plant bulbs in September or early October.
Central regions: in temperate climates, aim for mid to late October.
Southern regions: in warmer climates, you can plant bulbs as late as November or even early December, but they might need pre-chilling (more on this below).
How to plant Fall bulbs
Planting Fall bulbs is straightforward, but following these steps ensures the best results.
Planting depth and spacing
Location: most bulbs prefer well-drained soil in a sunny spot. Avoid areas where water tends to pool.
Soil preparation: loosen the soil to a depth of about 6 inches (this also depends on the type of bulb) and mix in compost or well-rotted manure to improve fertility and drainage.
Depth: plant bulbs at a depth of about 2-3 times their height. For example, if a bulb is 2 inches tall, plant it 4-6 inches deep.
Spacing: space the bulbs about 2-3 times their width apart. This gives them room to grow and prevents overcrowding.
Planting steps
Dig holes or trenches: use a garden trowel or bulb planter to dig individual holes or a trench if you’re planting many bulbs.
Place the bulbs: place the bulbs in the holes with the pointed end facing up. If the bulbs have a flat side, position it facing outward to encourage uniform growth.
Cover with soil: gently backfill the holes with soil, pressing down lightly to eliminate air pockets.
Water thoroughly: water the bulbs well after planting to help them settle in and start rooting.
Mulching
Apply a layer of mulch (such as straw, shredded leaves, or bark) over the planted area. Mulch helps regulate soil temperature, retain moisture, and prevent weed growth.
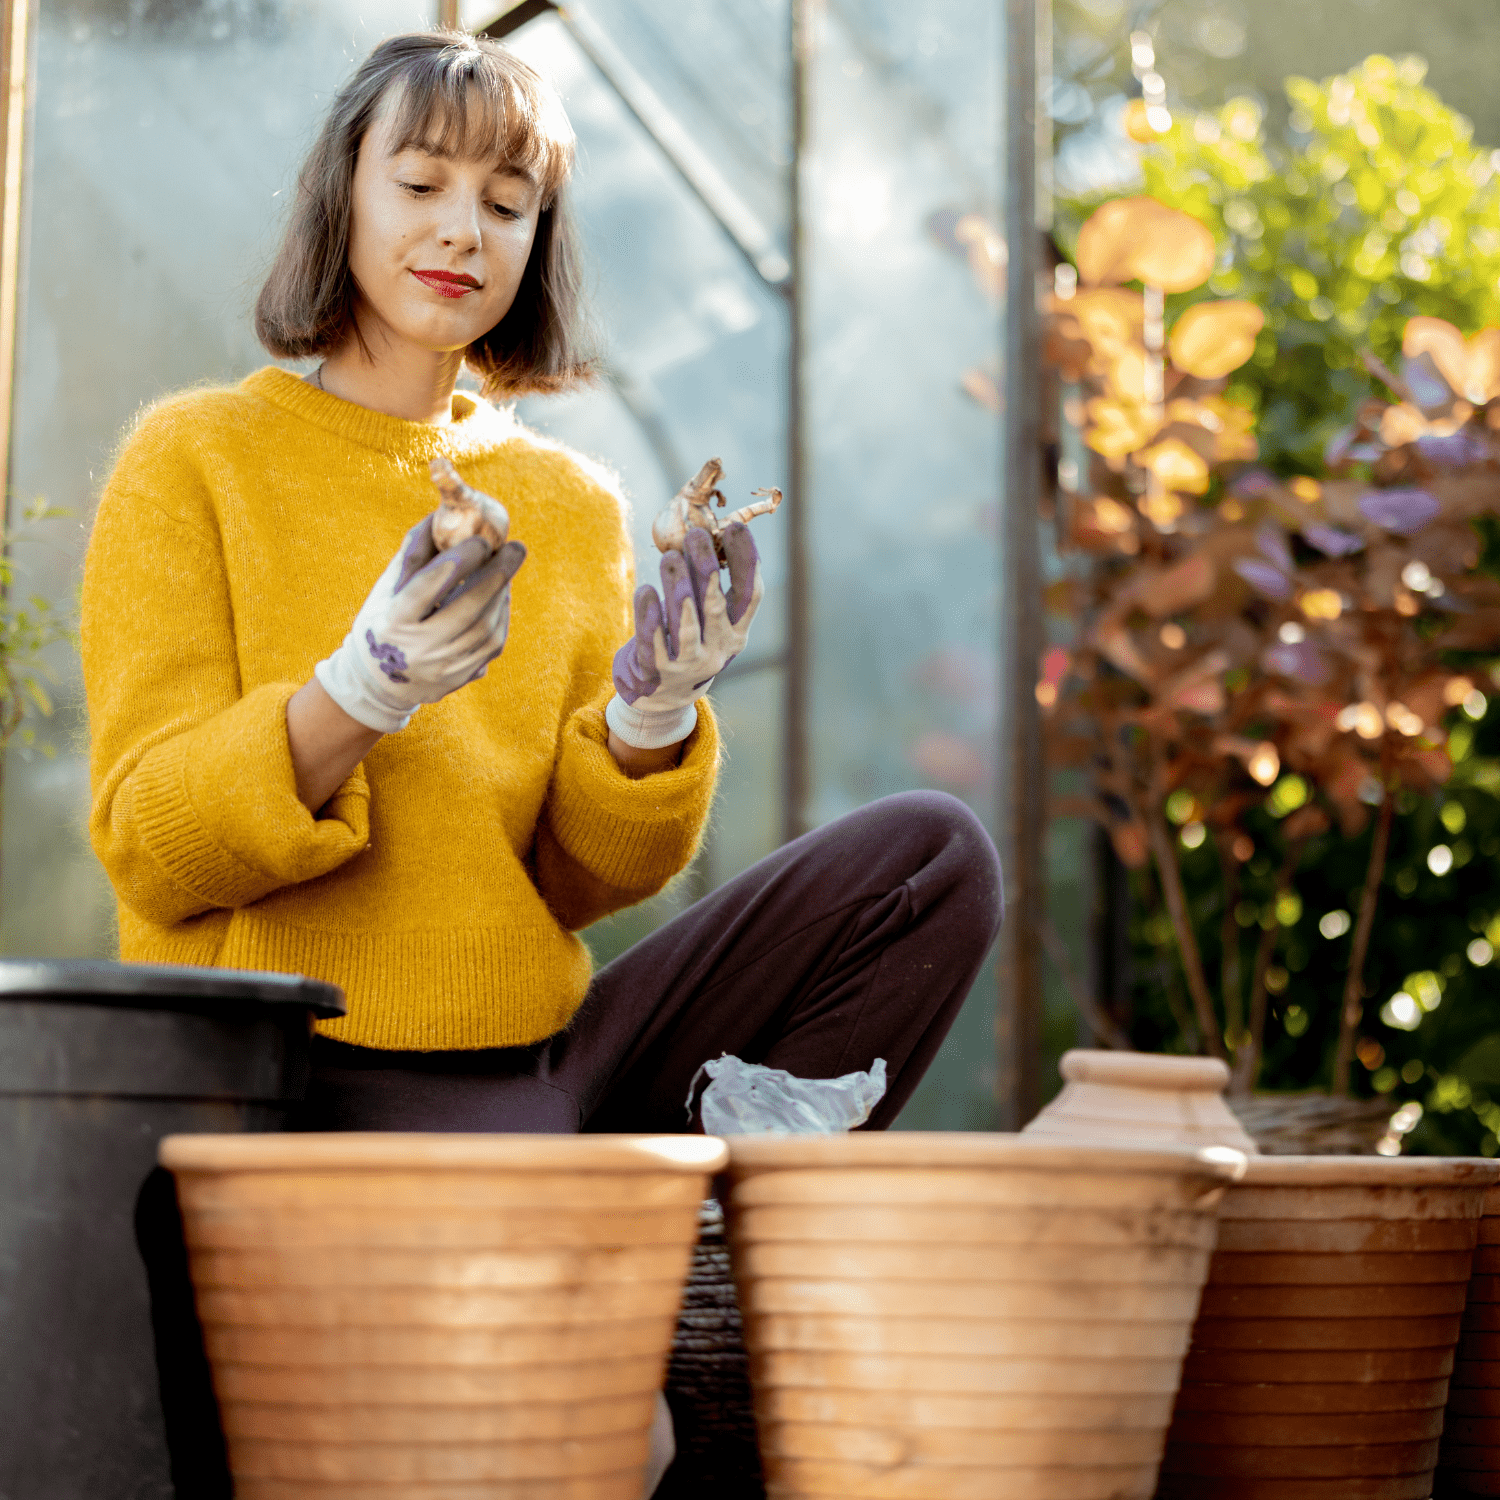
Pre-chilling bulbs
In warmer climates, where winters are mild, certain bulbs, especially tulips, may not receive the cold period they need to bloom properly. To solve this, you can "pre-chill" the bulbs before planting. Pre-chilling mimics the cold dormancy bulbs experience in colder regions, which is essential for their development.
The process is simple: place the bulbs in a paper bag and store them in the refrigerator for about 6-8 weeks before you plant them in the garden. It’s important to keep the bulbs away from fruits like apples, as these emit ethylene gas that can damage the bulbs.
After the chilling period, you can plant the bulbs in the ground, just as you would in colder regions, ensuring the soil is still cool. Pre-chilling gives these bulbs the cold they need to grow strong and bloom beautifully, even in warmer climates. By taking this extra step, you’ll be rewarded with vibrant flowers that would otherwise struggle to thrive in milder conditions.
Caring for Fall-planted bulbs
Caring for Fall-planted bulbs is key to ensuring they grow strong and bloom beautifully in the Spring. After planting, it's important to give them a thorough watering to help the bulbs settle and start rooting. Once this is done, they generally don’t need much attention during the winter months, as most of the moisture they require will come from natural rainfall. However, if you live in an area with particularly dry winters, you may need to water them occasionally to prevent the soil from drying out completely.
Another important aspect of bulb care is protecting them from pests. Squirrels, mice, and other animals can sometimes dig up bulbs, mistaking them for food. To prevent this, you can use bulb cages or wire mesh placed over the planting area. Some gardeners also sprinkle blood meal or bone meal around the bulbs, which can act as a natural deterrent for rodents.
As spring approaches and the first shoots begin to appear, you can help the bulbs thrive by removing any mulch that was applied for winter protection. This allows for better air circulation around the emerging plants. At this point, applying a balanced fertilizer can provide a nutrient boost to support healthy growth and flowering. By following these simple steps, your Fall-planted bulbs will be well on their way to producing a beautiful, colorful display when spring arrives.