Explore the Perennial collection
Sort by:
About Black Beauty
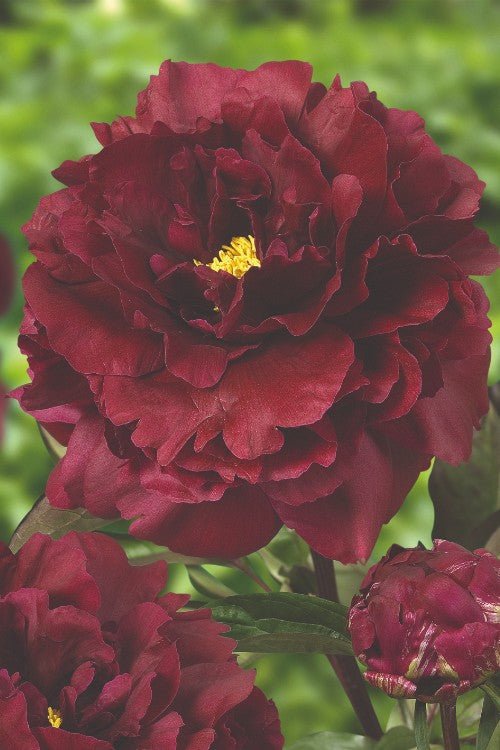
The Peony Black Beauty is a stunning and unique flower that is sure to add a touch of elegance to any garden. With its deep black-maroon petals and lush green foliage, this flower is sure to make a statement in any landscape.
- Deep nearly black-maroon petals
- Lush green foliage
- Features very large, fragrant double flowers
- Excellent cut flower
- Attracts butterflies
- Grows up to a height of 30-32 inches tall
- Has approximately 7-inch flowers
How to care for Black Beauty
- Plant in well-drained soil and in a location that receives full sun to partial shade.
- Make sure to keep the soil consistently moist, but not waterlogged.
- Once established, the Peony Black Beauty is low maintenance and will come back year after year.
About Coral Charm
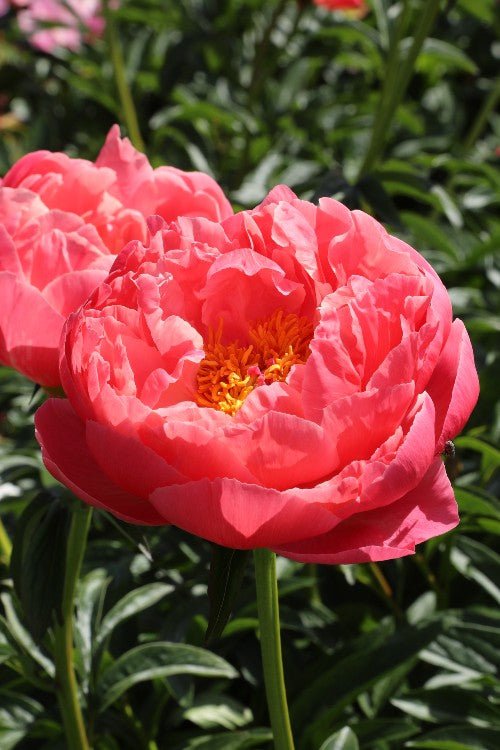
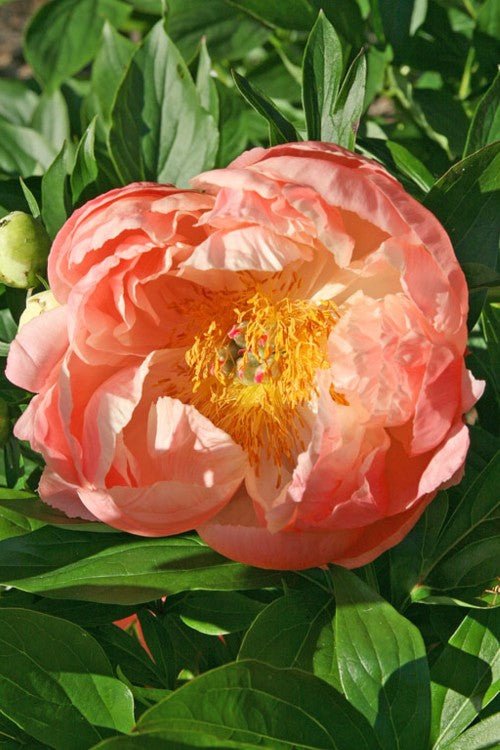
Peony Coral Charm is a beautiful and vibrant addition to any garden. This stunning peony variety boasts large, coral-peach and pink blooms that are sure to turn heads. What's unique about Coral Charm, is that it changes color over time from pink-coral to a creamy white.
- Large, coral-peach and pink blooms
- A stunning and vibrant addition to any garden
- Long-lasting and hardy
- Highly fragrant and attracts butterflies
- Changes color
- Excellent cut flower
How to care for Coral Charm
- Simply choose a sunny spot in your garden with well-drained soil.
- Plant the peony with the eyes (buds) facing upward and about 2 inches below the soil surface.
- Water well and mulch around the base to keep the soil moist.
- Fertilize once a month during the growing season.
- Deadhead spent blooms to encourage more blooms.
- Divide the plant every few years to maintain its vigor.
About Sarah Bernhardt
The Sarah Bernhardt Peony is a stunning, heirloom variety that will add elegance and beauty to any garden. It is a shrubby plant that displays attractive foliage throughout the summer and early fall, and then dies to the ground after frost.
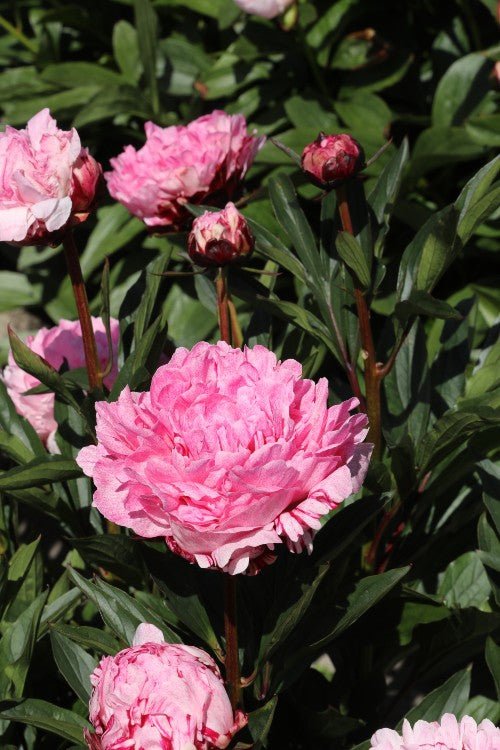
- Features large, double blooms in a deep pink color
- Blooms in late spring to early summer
- Perfect for cut flowers
- Reaches up to 3-4 feet tall and wide
- Very fragrant, and attracts hummingbirds and butterflies
How to care for Sarah Bernhardt
- Plant in full sun to partial shade
- Well-drained soil
- Space 2-3 feet apart
- Provide support for tall stems
- Deadhead spent blooms to prolong the blooming period
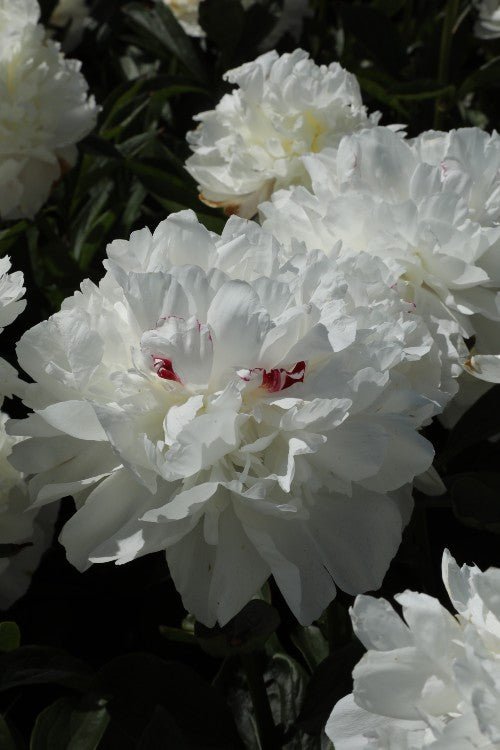
About Duchesse De Nemours
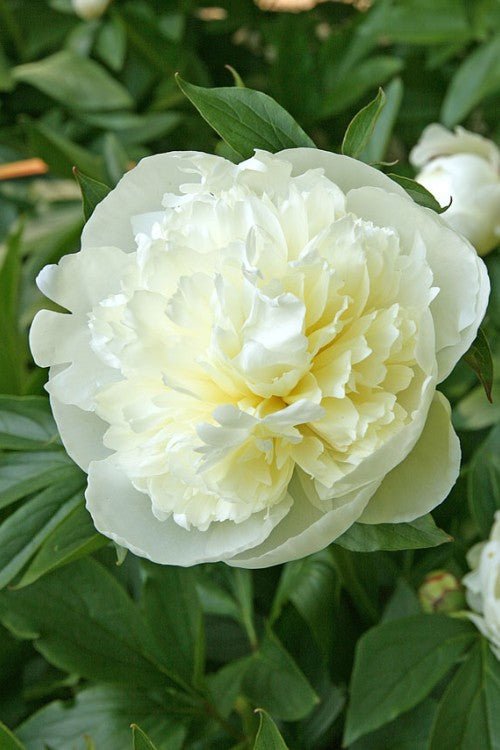
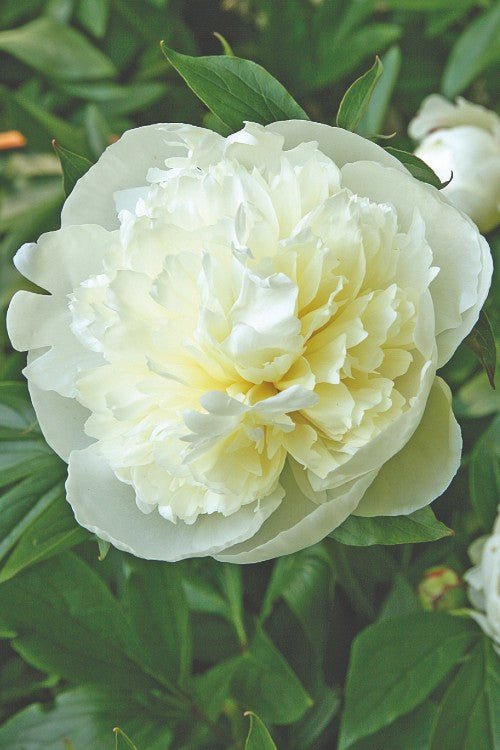
Peony Duchesse De Nemours is a stunning, classic double-white peony that will add elegance to any garden. It is a shrubby plant that features large, white double flowers with cupped petals and light yellow centers.
- Large, full blooms with a beautiful, delicate fragrance
- Blooms in late spring to early summer
- Great as a cut flower or in borders
- Low maintenance, easy to care for
- Perfect as cut flower
- Attracts many butterflies
How to care for Duchesse de Nemours
- Plant in well-drained soil in a sunny to partially shaded location
- Water regularly during the first growing season to establish a strong root system
- Deadhead spent blooms to encourage reblooming and maintain a neat appearance
- Cut back foliage after it has yellowed in fall
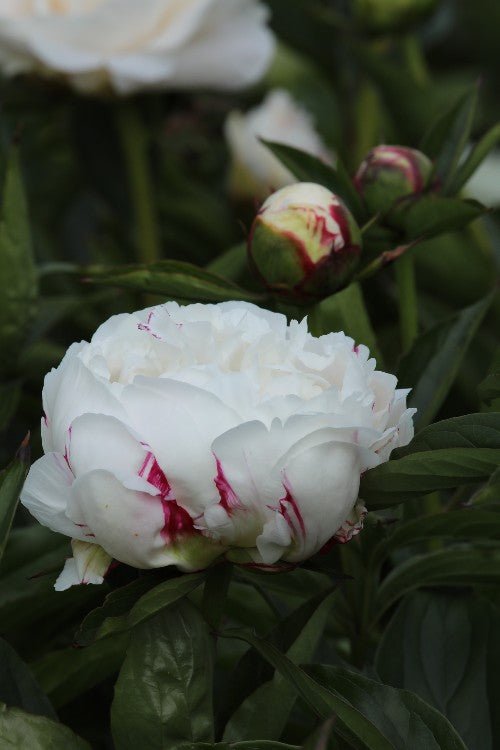
About Festiva Maxima
Elevate your garden to new heights with the enchanting Peony Festiva Maxima. This elegant flower bulb is a timeless favorite among gardening enthusiasts and will add a touch of elegance to any landscape. Let the allure of its mesmerizing blooms captivate your senses and create an atmosphere of pure floral bliss.
- Large, double white blooms with a pink streak
- Classic beauty
- Very nice fragrant
- Very hardy
How to care for Festiva Maxima
- Choose a sunny spot in your garden, with well-drained soil.
- Simply dig a hole that is slightly larger than the root ball of the plant.
- Place the plant in the hole and fill it with soil, making sure to firm it down around the roots.
- Water well and mulch to keep the soil moist.
- Water regularly and fertilize in the spring with a balanced fertilizer.
- Deadhead spent blooms to encourage reblooming
Looking for a timeless and elegant addition to your garden or floral arrangements? Look no further than the Immortality Bearded Iris, a classic flower that has been a favorite among gardeners for decades.
This stunning flower boasts pure white petals and a striking yellow beard in the center, making it a true standout among other flowers. Its hardiness and ease of maintenance make it a reliable option for any gardener, while its delicate fragrance adds an element of charm and elegance to any setting.
But the benefits of the Immortality Bearded Iris don't stop there:
-
As a member of the bearded iris family, the Immortality Bearded Iris is a trusted and reliable option for gardeners.
-
Its pure white petals and charming fragrance make the Immortality Bearded Iris a beloved and admired flower among all who see it.
-
This classic flower is a rare find, adding an element of exclusivity to any garden or floral arrangement.
-
With decades of popularity among gardeners, the Immortality Bearded Iris is a proven and popular choice for those seeking a beautiful and reliable flower.
-
By supporting pollinators and other beneficial insects, the Immortality Bearded Iris gives back to the environment, making it a great choice for those seeking to make a positive impact.
Order your Immortality Bearded Iris today and experience the timeless beauty and elegance of this captivating flower.
Introducing the Broadway Star Bearded Iris, a stunning flower that will take center stage in any garden or floral arrangement.
With its striking coloration and unique features, this flower is sure to impress. Here are the 5 most important features and benefits of the Broadway Star Bearded Iris:
-
This variety of iris has been a popular choice among gardeners for years, making it a trusted and reliable option for any garden.
-
The Broadway Star Bearded Iris is a rare find, adding an element of exclusivity to your garden or floral arrangement.
-
As a member of the bearded iris family, this flower is well-known for its hardiness and ease of maintenance.
-
Its beautiful and distinctive purple and yellow petals, coupled with a fragrant scent, will make this flower a favorite among all who see it.
-
By adding the Broadway Star Bearded Iris to your garden or floral arrangements, you'll be giving back to the environment by supporting pollinators and other beneficial insects.
Order your Broadway Star Bearded Iris today and experience the beauty, hardiness, and exclusivity of this magnificent flower.
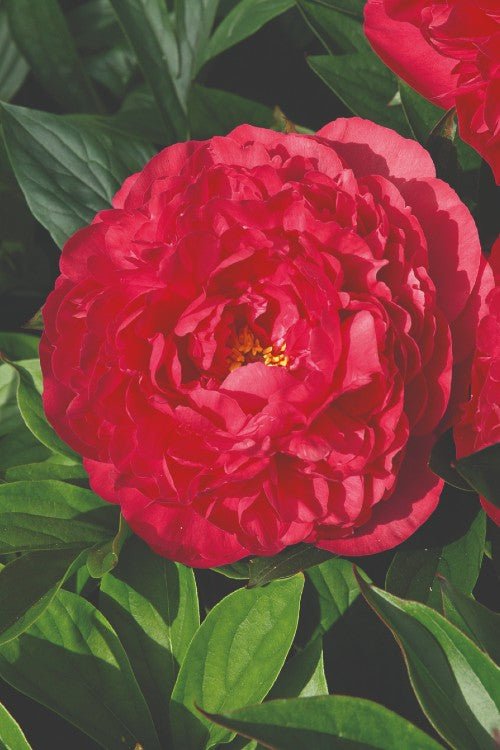
About Karl Rosenfield
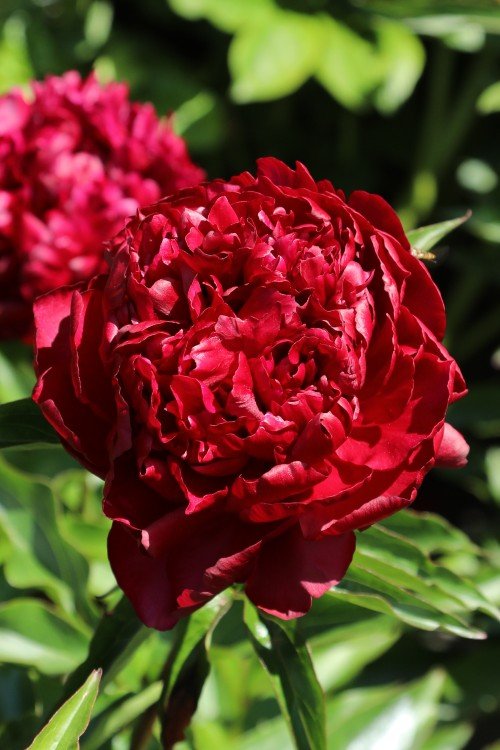
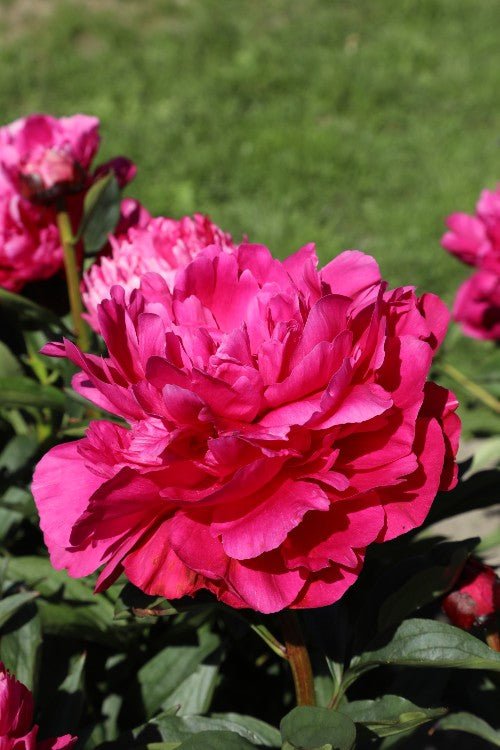
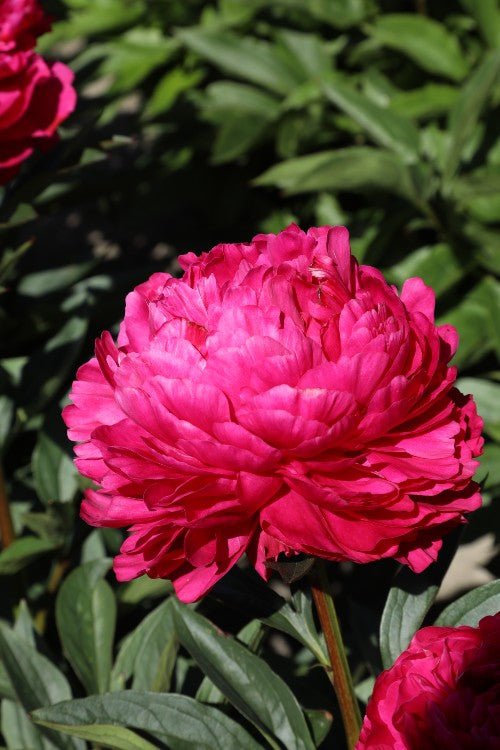
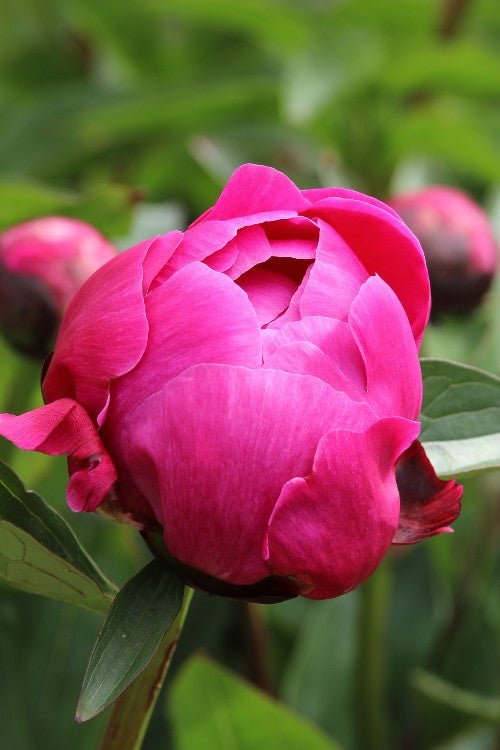
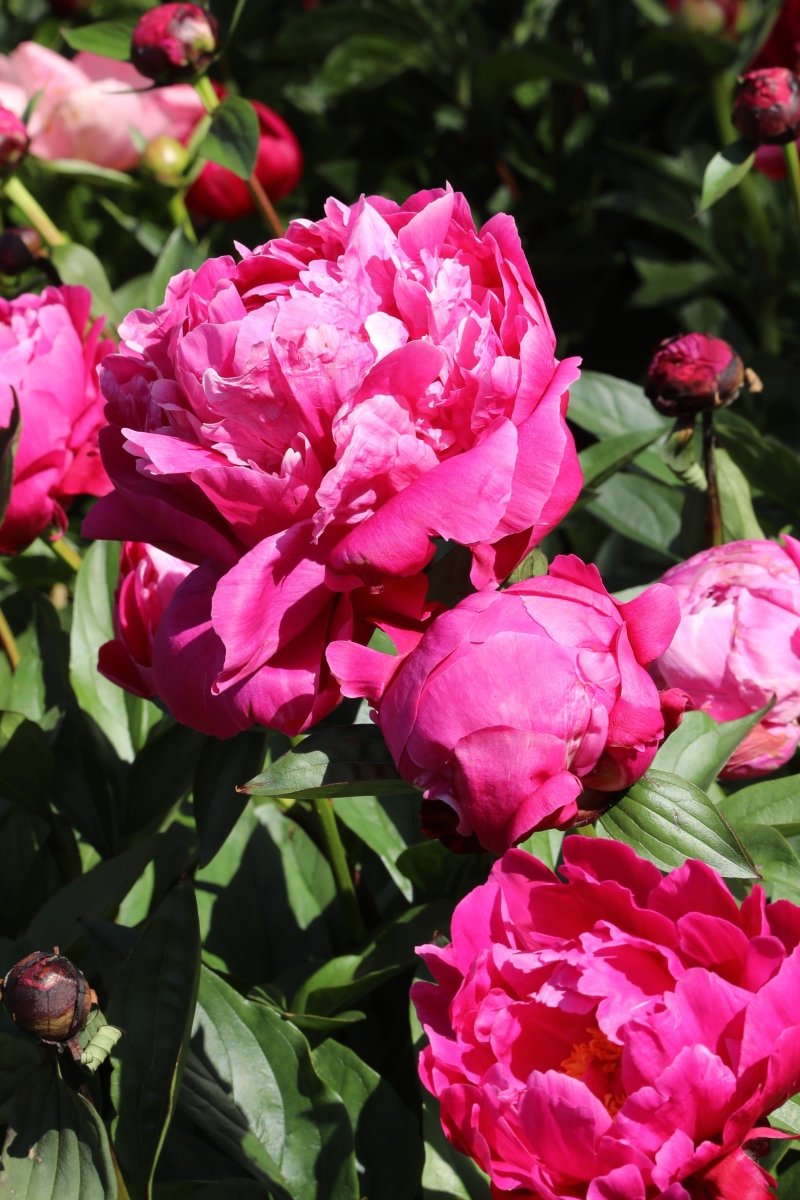
The Peony Karl Rosenfield is a stunning and fragrant perennial that will add beauty and elegance to any garden. With its crimson deep red petals and lush green foliage, this peony is sure to be the focal point of any garden.
- Large blooms with deep red petals
- Fragrant and long-lasting flowers
- Low maintenance and easy to care for
- Suitable for planting in zones 3-8
- Very suitable as a cut flower
- Attracts hummingbirds and butterflies
How to care for Karl Rosenfield
- Be sure to choose a sunny location with well-drained soil.
- Plant the bulbs about 1-2 inches deep and space them about 3-4 feet apart.
- Water regularly and fertilize in the spring to promote healthy growth and blooming. Deadhead spent flowers to encourage re-blooming.
Attention all royalty and sultans! Introducing the Supreme Sultan Bearded Iris - the flower fit for a king or queen.
With its regal and majestic appearance, the Supreme Sultan Bearded Iris is sure to impress even the most discerning of monarchs. Its luxurious and bold purple/ maroon petals are complemented by a striking yellow-orange "beard" in the center, making it a true standout among other flowers.
But don't let its royal appearance intimidate you - the Supreme Sultan Bearded Iris is easy to grow and maintain, making it a great option for even the most humble of gardeners. And with its delightful fragrance, you'll feel like you're lounging in a palace garden every time you step outside.
So why settle for common flowers when you can have the Supreme Sultan Bearded Iris? Order now and add a touch of royalty to your garden. Just be sure to bow down to this majestic flower every time you walk by!
About Lucifer
Crocosmia Lucifer is a stunning perennial flower that adds vibrant color and texture to any garden. Its tall spikes of fiery red flowers bloom in mid to late summer, making it a perfect addition to any summer garden. Arching sprays of bold, tomato-red, funnel-shaped flowers appear in August and September among handsome, pleated, mid-green leaves.
- Bright red flowers that bloom in mid to late summer
- Tall spikes that add height and texture to any garden
- Easy to plant and care for
- Perfect for adding color and texture to any garden
- Flower stems typically rise up to 22"
- They make excellent cut flowers
How to care for Lucifer
- For maximum impact, plant Lucifer in bold drifts in a sunny, sheltered site with moderately fertile, humus-rich, well-drained soil.
- Dig a hole that is twice the size of the rootball, and gently place the plant in the hole.
- Fill the hole with soil and water well.
- Simply water the plant regularly and fertilize it with a balanced fertilizer once a month during the growing season.
- Deadhead the flowers as they fade to encourage more blooms.
Attention all gardeners, are you ready for some serious flower power? Look no further than the Sky Fire Bearded Iris, a fiery and explosive addition to any garden or floral arrangement.
With its vibrant and bold colors, the Sky Fire Bearded Iris is sure to light up your garden like a fireworks display. Its bright orange and red petals are complemented by a striking yellow beard in the center, making it a true standout among other flowers.
And don't let its explosive appearance fool you - the Sky Fire Bearded Iris is a peaceful and easy-to-care-for flower that will bring joy to your garden for years to come. Its hardiness and resilience make it a reliable option for even the most novice of gardeners.
So why settle for boring and bland flowers when you can have a true explosion of color and excitement with the Sky Fire Bearded Iris? Order now and get ready to set your garden ablaze with this fiery and fun flower!
About Celebrity
The Peony Celebrity is a stunning perennial flower that is sure to add elegance and beauty to any garden. With its large, fragrant blooms and lush green foliage, this plant is a true standout.
- Large, fragrant blooms in shades of purple and red
- Lush green foliage that adds depth and texture to your garden
- Easy to plant and care for, making it a great choice for both experienced and novice gardeners
- A long-lasting perennial that will come back year after year
- Has a high flower production
- Strong stems and dark, green petals
How to care for Celebrity
- Simply prepare a well-drained soil bed in a sunny or partially shaded area.
- Dig a hole large enough to accommodate the roots of the plant and place the peony in the hole, spreading the roots out evenly.
- Cover the roots with soil and press down firmly to eliminate any air pockets.
- Water the plant well and keep it well-watered during the first growing season.
- Fertilize with a balanced fertilizer in early spring.
- Deadhead the spent blooms to encourage continued blooming.
- Keep an eye out for any pests or diseases and take action if needed.
Looking for a sweet and sassy addition to your garden? Look no further than the Sugar Blues Bearded Iris, a fun and flirty flower that is sure to satisfy your sweet tooth.
With its delicate and dreamy blue petals and charming "beard" in the center, the Sugar Blues Bearded Iris is a true standout among other flowers. And let's not forget about its delightful fragrance, which will leave your garden smelling like a candy shop.
But don't be fooled by its sugary appearance - the Sugar Blues Bearded Iris is a tough and hardy flower that can withstand even the most extreme of weather conditions. And with its ease of maintenance, it's a great option for busy gardeners who want a beautiful flower without all the hassle.
So why not add a touch of sweetness to your garden with the Sugar Blues Bearded Iris? It's the perfect flower for anyone who wants to satisfy their craving for something sweet and sassy. Order now and get ready to indulge in the delicious beauty of this captivating flower.
About Kansas
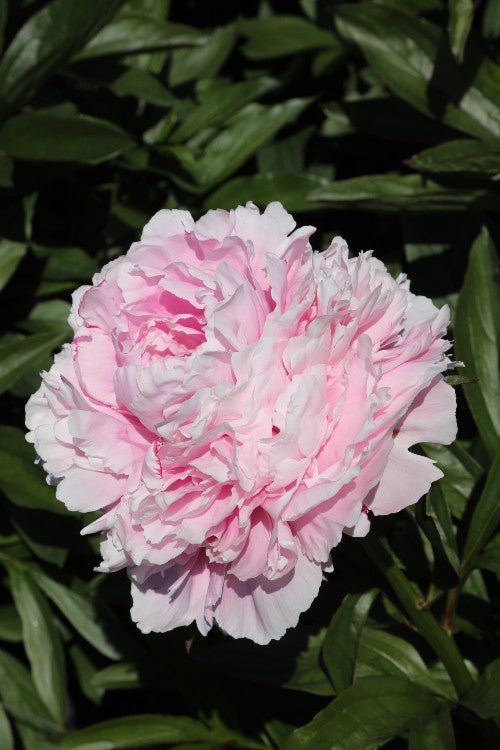
Peony Kansas is the perfect addition to any garden. With its delicate pink blooms and lush green foliage, it's sure to add a touch of elegance to any outdoor space.
- These beautiful flowers bloom in late spring, adding color and beauty to your garden just in time for summer.
- Peony Kansas is a hardy plant that can withstand harsh weather conditions and pests.
- The plant will grow up to 3 feet tall and 2 feet wide, making it perfect for any size garden
How to care for Kansas
- Choose a spot in your garden that gets at least 6 hours of direct sunlight per day.
- Prepare the soil by digging a hole about 2-3 inches deep and adding compost or organic matter to the soil.
- Plant the Peony Kansas bulb with the pointed side up and cover it with soil.
- Water the plant well and add mulch to keep the soil moist.
- Fertilize the plant with a balanced fertilizer once a month during the growing season.
- Deadhead the flowers as they fade to encourage more blooms.
- Cut the leaves back in the fall to prevent disease.
About Bolero
Step into a world of vibrant beauty with our Oriental Poppies Bolero! Unleash the allure of these captivating flowers in your garden and revel in their stunning colors.
- Striking Oriental poppies that make a bold statement
- Rich, velvety petals in vibrant hues
- Robust plants that thrive in various climates
- Perfect for adding a pop of color to borders, beds, or containers
- Low-maintenance beauties that are easy to grow
How to plant and take care of Bolero
- Choose a sunny location with well-drained soil
- Dig a hole twice as wide and deep as the root ball
- Place the plant in the hole, ensuring the crown is level with the soil surface
- Backfill the hole and gently firm the soil around the plant
- Water thoroughly after planting and keep the soil consistently moist
- Apply a balanced fertilizer during the growing season
- Remove spent flowers to encourage continuous blooming
- Protect from extreme heat and frost
- Enjoy the breathtaking display of Oriental Poppies Bolero in your garden!
About Red Sarah Bernhardt
Introduce your garden to the stunning beauty of the Red Sarah Bernhardt Peony! This vibrant and fragrant flower is sure to make a statement in any garden.
- Bright red-pink blooms that measure up to 5 inches across
- A strong, sweet fragrance that is sure to attract pollinators
- Blooms early to mid-spring
- Perfect for cut flowers, garden borders, and mass plantings
- Excellent cut flower
- Good flower production
How to care for Red Sarah Bernhardt
- Simply dig a hole that is twice as wide as the root ball and just as deep.
- Place the peony in the hole and backfill it with soil, making sure to plant it at the same level as it was in the pot.
- Water well and mulch around the base of the plant to keep the roots cool and moist.
- For optimal growth, make sure to provide full sun and well-drained soil.
- Deadhead spent blooms to encourage reblooming.
- Fertilize in the fall with a balanced fertilizer.
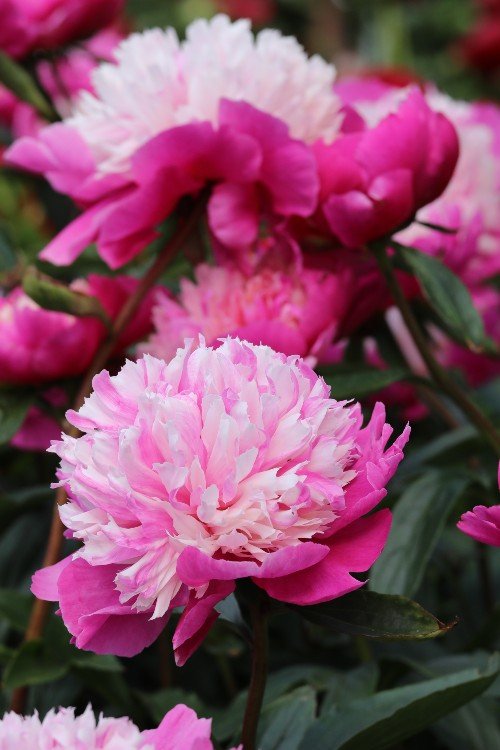
About Bowl of Beauty
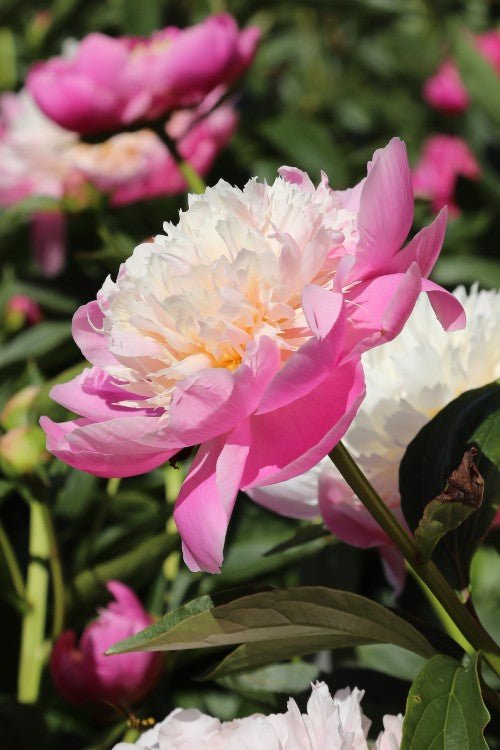
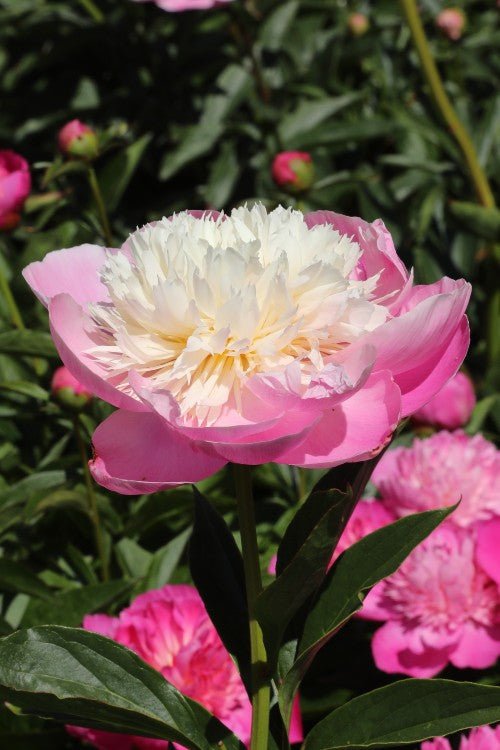
Have you seen this Peony Bowl of Beauty? It is a stunning perennial flower perfect for any garden. It has huge double blooms in the shades of pink, and white and is for sure a showstopper in your garden.
- Vigorous growth habit and long-lasting blooms
- Great for cut flowers and borders
- Easy to care for and maintain
- One of our bestsellers
- Deer usually won’t eat them
How to care for Bowl of Beauty
- Plant in well-draining soil in a location that receives full sun to partial shade.
- Space the plants 2-3 feet apart from each other. Plant the Peony bulbs with the eyes facing up and cover them with 2-3 inches of soil.
- Water regularly during the first growing season to establish a deep, extensive root system. Deadhead spent blooms to promote reblooming.
- Fertilize with a balanced fertilizer in the spring.
- Cut back foliage after it has yellowed to encourage new growth
Champagne Elegance Bearded Iris, a stunning addition to any garden or floral arrangement. With its striking champagne-colored petals and delicate ruffled edges, this iris is sure to impress.
This variety of bearded iris is a true showstopper, boasting large, velvety blooms that measure up to 5 inches in diameter. Each flower features an intricate pattern of golden-yellow markings, making it a true standout in any garden or vase.
Not only is the Flower Champagne Elegance Bearded Iris visually stunning, it is also incredibly easy to care for. These irises are known for their hardiness and ability to thrive in a variety of growing conditions. Whether you're an experienced gardener or just starting out, this iris is a great choice for adding some color and beauty to your outdoor space.
Order your Champagne Elegance Bearded Iris today and enjoy its breathtaking beauty for years to come. With proper care, these irises will bloom year after year, providing a long-lasting source of natural beauty and elegance. Don't miss out on this must-have addition to your garden or floral collection.
FAQs

